Monday, September 29, 2014

Art&Music

Back to sweet Lidia.
I had made her Music Class blouse .
But then took a break to make Zara and Elsa's posh frocks.
Time to finish her turn!
The Oliver+S Art Museum trousers
But as jeans.
Distressed jeans!
After a little research we decided on the 'tailors chalk and sand paper method'.
The cheese grater seemed a bit too aggressive.
Lidia popped on the 'jeans' and did some 'burpee's' (an exercise) to crease them up nicely and then I marked the creases with the chalk.
Time for the sandpaper. 
I used a plastic container as a support inside the jeans leg and gently rubbed with 180 grade paper.
Evidently, less is more as the effect will increase with laundering.
I am not convinced and was really cross when I accidentally  rubbed a hole!
Liddy was delighted, soooo trendy.
Finished!
Heavy red denim, distressed, size 7 with the length of a size 12.
Jeans topstitching, metal jeans button.
Super soft Japanese lawn from Spotlight peeking out from the pocket bags.
And the waist band.
Nice long legs for my long legged beauty.
A snappy little outfit
I hope it lives up to her inspiration......

xx N

Saturday, September 27, 2014

Posh Frock

Elsa's turn....
We saw Zara's.
Same request from me, something easy to make.
 Busy days.....
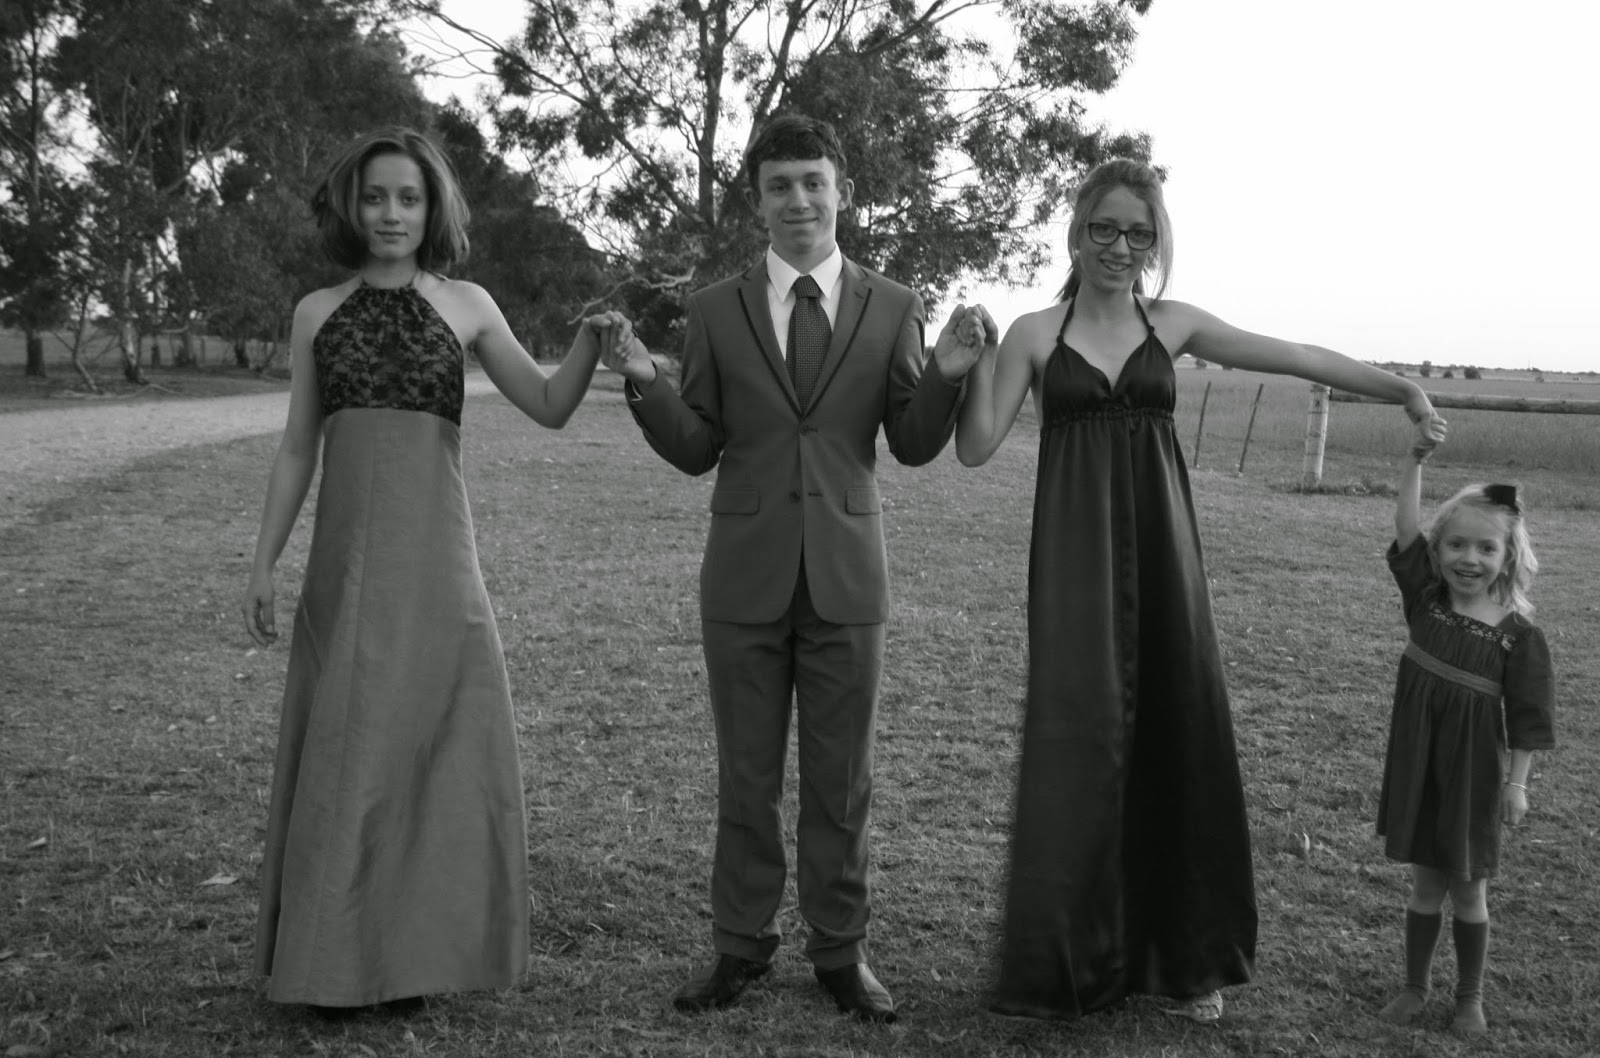
Elsa chose a simple halter neck style.
But in very un-simple fabrics.
Dupion silk from my stash, with a layer of black lace over the bodice.
An invisible zip to keep the clean lines.
A self tie makes a sweet bow.
Fully lined with bemsilk.
And how did it look?
Fabulous Dahling!
Perfectly Elsa.
Sophisticated but not too much.
A fabulous colour on her.
Sigh, so grown up.
They had a great night!
(Hugo purchased his suit but I did make his shirt)

xx N

Saturday, September 20, 2014

Black Tie

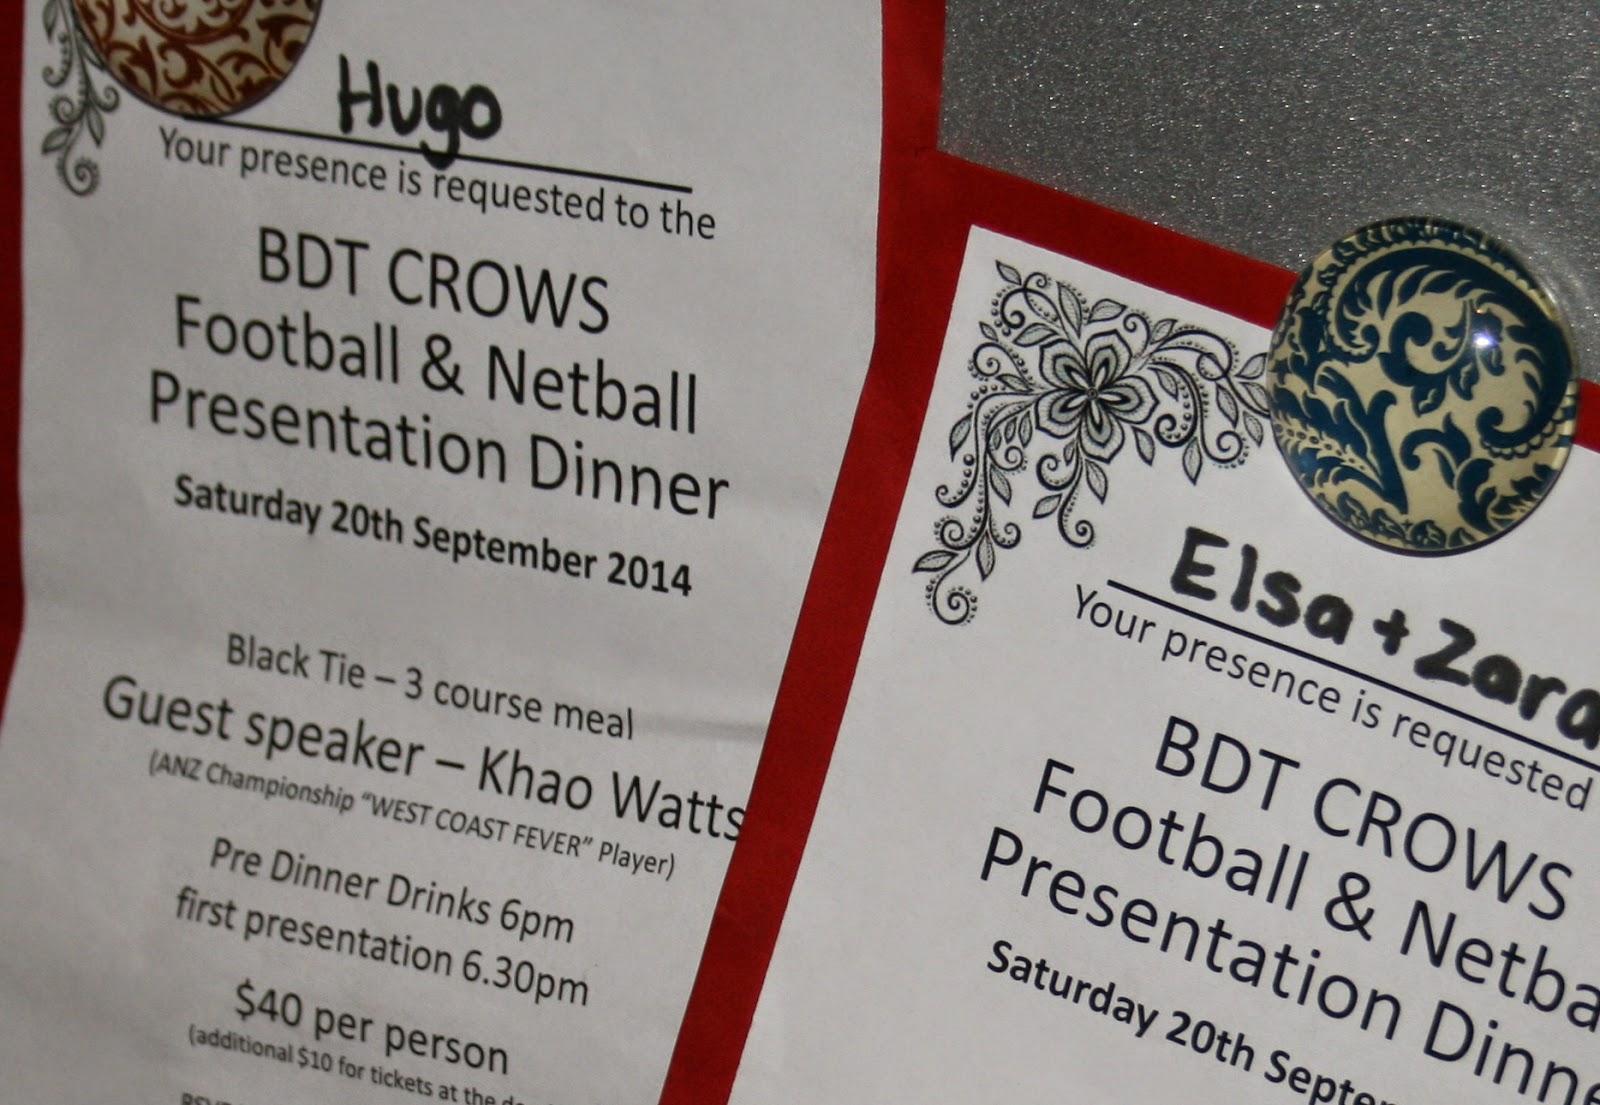
Zara was very excited to be (officially) asked to the Football&Netball Presentation Dinner.
(Elsa was too,more on her later)
As the dress code was black tie, a new posh frock was needed.
Now I am a wee bit busy at the moment.
 So, I requested an easy pattern choice, please.
Zara ferreted through my huge collection of vintage patterns and found this little number.
She originally wanted in made in some black silk/modal she snaffled from my personal stash but then she found the piece of hammered silk I made my Aubepine dress in.
Last minute mind change.
As last time this fabric was a bear to sew, every seam needed hand basting.
I had to re-do the hem once as it dropped terribly upon hanging.
 For some extra oomph we added a bemsilk lining.
Catching it under the bias waist casing.
We had a slight panic once finished, the bodice was too full!
(But some quick shoulder knots saved the day)
A simple elastic casing worked perfectly at the waist.
And was she pleased?


I think she was pleased!

xx N

PS *UPDATE* Hugo won B-grade Best&Fairest!


Friday, September 12, 2014

FBA All The Way!

If you sew ladies clothing and you read
You must have heard about the FBA (full bust adjustment) instructions that Liesl Gibson (of Oliver+S fame) has put together for her Liesl+Co pattern range.

This adjustment is perfect for me!
As a lady of petite build (under the padding) if I size up for my moo-boobies I am swamped 


screen shot from the Oliver+S site
I want to show you how easy it is to do!
Print your pattern and put it together.
I use the glue stick method.
As directed in the pattern instructions, mark the cutting lines.
Trace the pattern size required.
To find your size, measure your upper bust. All is explained in the instructions.
Swedish tracing paper is perfect for this exercise as you can cut and glue it together and still iron it!
 Trace the pattern piece as well as your cutting lines.
Carefully snip the horizontal traced line toward the vertical line.
Cut and spread the required width for your bust size.
Fill in the gap with offcuts of Swedish tracing paper.
Just glue it in place.
Fill in the gaps in the vertical cut as well.
Redraw the cutting line.
Following the pattern instructions, mark a cutting line on the corresponding front pattern piece.
Cut along the line and add a piece  the width as you added to the other panel.
The pieces will now match.
Re-draw the cutting lines and you have your new pattern pieces.
That easy!
As I used a very stretchy knit the non-interfaced side of the collar had some tucking issues.
So I flipped it and used the interfaced side as the right side.
I had to finish the facing in a less then Liesl method too.
I pinned it underneath and top stitched it in place.
The finished garment has such beautiful drape.

The wool/modal is deliciously light but oh so warm.
It falls so nicely.
It had enough room for my #6 baby belly.
And was comfortable and smart 4 days post baby.

*The fabric did 'grow' somewhat and I find this tunic looks better worn with leggings rather then jeans.
It is actually a bit big now but I plan to sew it again, same size, in a soft linen.
I think it will be less diaphanous*

Have you seen the new Liesl+Co?

xx N