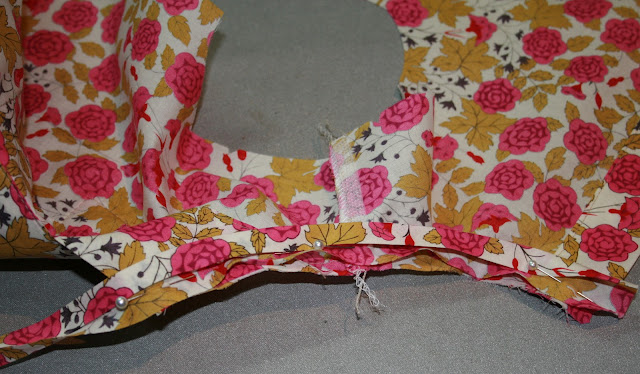
Sometimes the centre front will be wonky.
Check for tucks but if you cant find an obvious mistake trim the neck so that the sides are even.
I like to redraw the neckline before snipping.
You cant stick it back on!
Place the shoulder seams of the front and back together.
On a fine fabric,like lawn,I use a little soft interfacing to stabilise the seam.
Pin and sew.
Sew and neaten.
I neaten my seams together,with a light fabric,it is fine.
If making the blouse with a heavier cloth,press the seam open as per pattern directions.
Press the seam well.
Press again from the right side.
Blouse-tastic!
Neck Binding
Gently press the neck binding bias strip.
Handle them carefully so the do not stretch.
Fold the strips in half,press and then let cool.
Open the strips up and press the edge into the middle to create bias binding.
Press well and let cool.
Pin the binding to the wrong side of the blouse neckline,pinning in the fold line.
Leave a extra bit at the centre back.
This will fold in neatly later.
Sew the binding to the blouse along the fold line.
Gently pull the blouse down with your fingers as you sew to reduce the chance of tucks.
After stitching,press the seam up towards the binding.
Trim this seam a little if you wish but not too hard or it will lose its lovely line.
Press the extra seam allowance towards the blouse.
Press the binding down covering your previous stitch line.
Pin in place.
Use a pin to poke any raw edges under the binding.
Pin securely in place.
Press again.
Fold the end of the tie to the inside and press.
Again,poke the raw edges in if necessary.
Once pinned,check for tucks and then slowly top-stitch in place.
Stitch the end of the binding first.
Once sewn,press well smoothing and shaping the binding into place.
Pretty pretties
Next,the sleeves.
x N


Gorgeous! And hooray for sewing with Tim.
ReplyDeleteThank you Catherine.
DeleteSewing+Tim,what could be better.
x N
The picture with Tim put a smile on my face:)
ReplyDeleteAnd mine Brittney!
ReplyDeletex N