Another FairyTale?
I showed you the complicated version.
Now here is the simplified one.
As I had limited fabric I cut the bodice from the main fabric and lined with poplin.
Zara wanted a full skirt so I cut the front and back skirt the width of the fabric.
Transfer all the markings.
Stitch the darts and press in place.
Pin and sew the shoulder seams.
Bodice and lining.
Sew the lining and bodice together at the neck and arm seams.
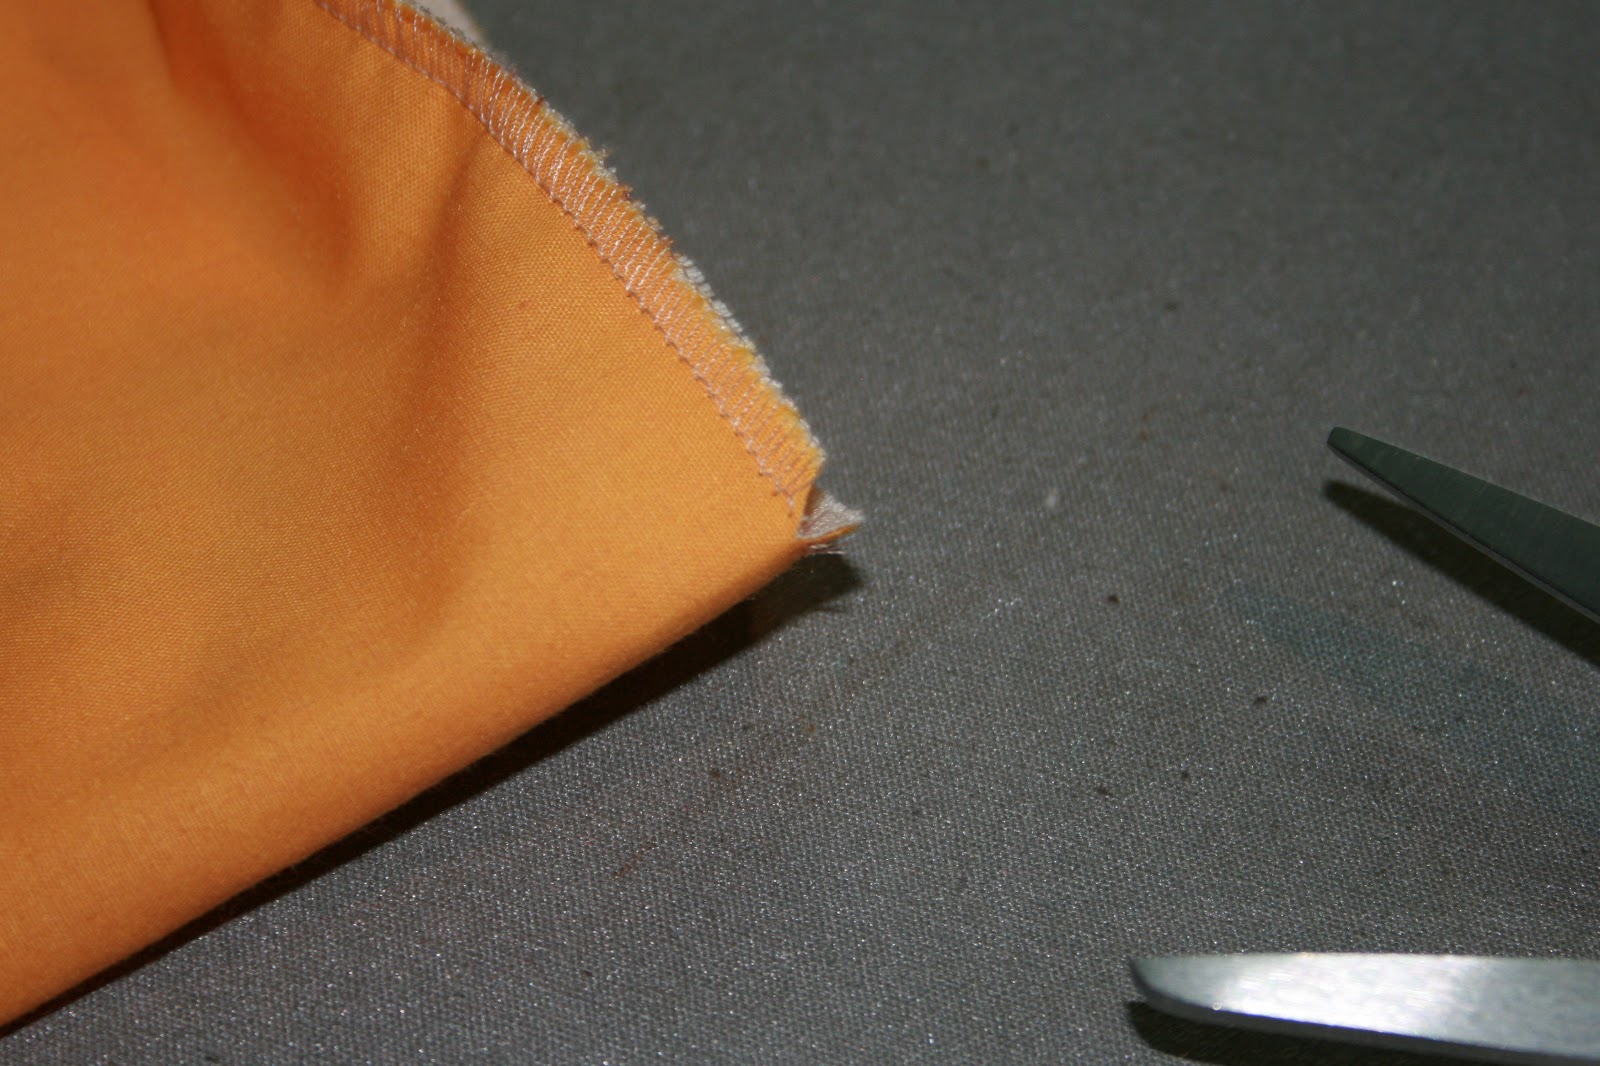
Trim and clip the seam allowances.
Turn through,finger press and then press the bodice neatly.
Open up the bodice and under-stitch the lining to the seam allowance as far as you can it each direction.
Press the seam allowance open.
Sew the bodice to the bodice and the lining to the lining.
Press the seam open.
Fold the lining to the inside and press again.
I like to baste a folding line at 4/8ths and press it in place.
On with the skirt
Sew the side seams and centre back seam to the zipper opening.Neaten and press.
I like to turn a narrow hem and then a deeper hem.
Repeat with the lining.
Pin the lining to the skirt right sides together.
Neaten the edges together.
I like to stagger the seams.
Match up the zipper openings and press them to the outside.
The seams will be covered by the zipper.
The inside view.
Mark the centre front.
Leaving a inch or so either side of the zipper opening,gather the top with two rows of gathering stitch.
Match the side seams and centre front seam and pull up the skirt to fit the bodice.
Pin and sew in place and the press the seam up towards the bodice.
(If you need a bit more guidance with this step refer back to this post)
Pin the bodice down covering the gathering.
Match the darts and side seams.
I really like poplin as a lining.
Pin the lining in place.
You may handsew it in place for a perfect finish.
Remove the gathering threads.
I chose to top stitch the bodice catching the lining underneath.
Pin and baste the centre back seam together.
Press the seam open.
Press the top and the bottom raw edge of zipper to the wrong side.
Place the zipper over the seam allowance.
Trim the seam if it shows.
Pin and basted the zipper in place.
Sew the zipper in place.
First at the edge of the zipper.
Then change to the zipper foot and stitch closer to the teeth.
Unpick the basting.
And there we have it!
Fully lined.
Nice and neat.
A sweet summer dress.
Sophisticated enough for my little fashionista.
xx N


It's really beautiful Nicole!
ReplyDeleteI would wear this one myself :-)
Love the (vintage) floral fabric she picked and I do think the exposed zipper and the added belt make it quite actual! Clever.
Thank you Ana Sofia.
DeleteA lovely lady presented me with a box of fabric after Mass one day. This piece was in there as was this piece http://www.flickr.com/photos/motherof5/7144137249/in/photostream (the floral).
The belt and zipper were all here!
xx N
Waw, gorgeous dress! The skirt looks so swirly...
ReplyDeleteThank you!
DeleteI only just managed to gather it all up.
xx N
That dress is perfect for summer and it fits her to a T. Oh, how I wish my waist size was that small!!
ReplyDeleteThank you Erin.
DeleteSigh,I can remember when mine was-sigh http://www.flickr.com/photos/motherof5/5605691198/in/set-72157624823403656 .
I have drafted the Olivine for Liddy's Birthday dress but I think I will make a muslin for the bodice as she would like it semi-fitted.
xx N
You are a total pro, this looks fabulous.
ReplyDeleteMy kindest critic!
Deletexx N
The exposed zipper was an inspired touch! It's a beautiful dress.
ReplyDeleteThank you Catherine,I will pass that on to her
ReplyDeletexx N
Ooh, it is so chic! Fashionista indeed!
ReplyDeleteThank you Inder,she loves it and is wearing it lots!
ReplyDeletexx N
Finished my first Fairy Tale this morning, then thought to check your tutoral. Wish I'd thought of it before hand, your way is much less complicated then the instructions. I love this dress.
ReplyDeleteI bet yours is fabulous!
ReplyDeleteHave you put piccies up?
xx N
I have a question about attaching the skirt to the bodice. When you sew the skirt to the bodice, are you sewing it to both the lining and the fabric? How do you then have bodice lining fabric left over to bring down over the gathering seam? I am confused and must be missing something. I hope that this question makes sense. I just finished sewing a dress with lining, fabric, and overskirt and the inside where the skirt is attached to the bodice is a big, scratchy mess and I don't know where I went wrong.
ReplyDeleteHi JP, that is it.
ReplyDeleteI sew the skirt and skirt lining as one, to the bodice.
It is a lot of fabric, don't lose heart.
Please come back if you need extra clarification.
xx N
I think I get it: sew skirt and skirt lining to bodice only, THEN bring down bodice lining and sew to skirt lining to cover that bunchy seam. Thank you!
DeleteI am so happy if I can help!
ReplyDeletexx N