But Mrs D did say that it was optional.
And Tilly really wanted a dress.
Besides,how could anyone resist this?

I have made this dress twice before.
Once in silk and it was a dream to sew.
Then again in cotton gingham but that time it gave me some problems.
I asked around in the o+s forums but no one could shed light on my short comings so I decided it was time to try again.
I have strayed slightly from the primrose path and my technique is definitely not 'heirloom' sewing but it came up so beautifully I thought I would share.
I shan't mind if you don't like my method.

Here you go Joe!
PS I will let you know when I am heading 'off road'


If you pull the point threads through and knot them on the wrong side it will give a better finish then reversing at the end of the seam.

Take your time with this step,perhaps mark the stitching lines with a chalk pen ?

Check the pattern pieces for the exact position!


For sheer fabrics, trim with normal scissors not pinking shears.
Dampening the collar can help with rolling the seam.

Make sure your notches are visible they are crucial to a good finish with this garment.

Off Road!
At this point I neaten the bottom edge of the bodice lining.

The collar should overlap in the middle.


Press well.

The back facing is narrower,it will seem uneven,it is meant to,don't worry Mrs Murray!


These are the pieces we will be sewing together.

Pin in the crease of the fold but not the fold itself.
You may need to ease this seam a little just make sure the notches match!
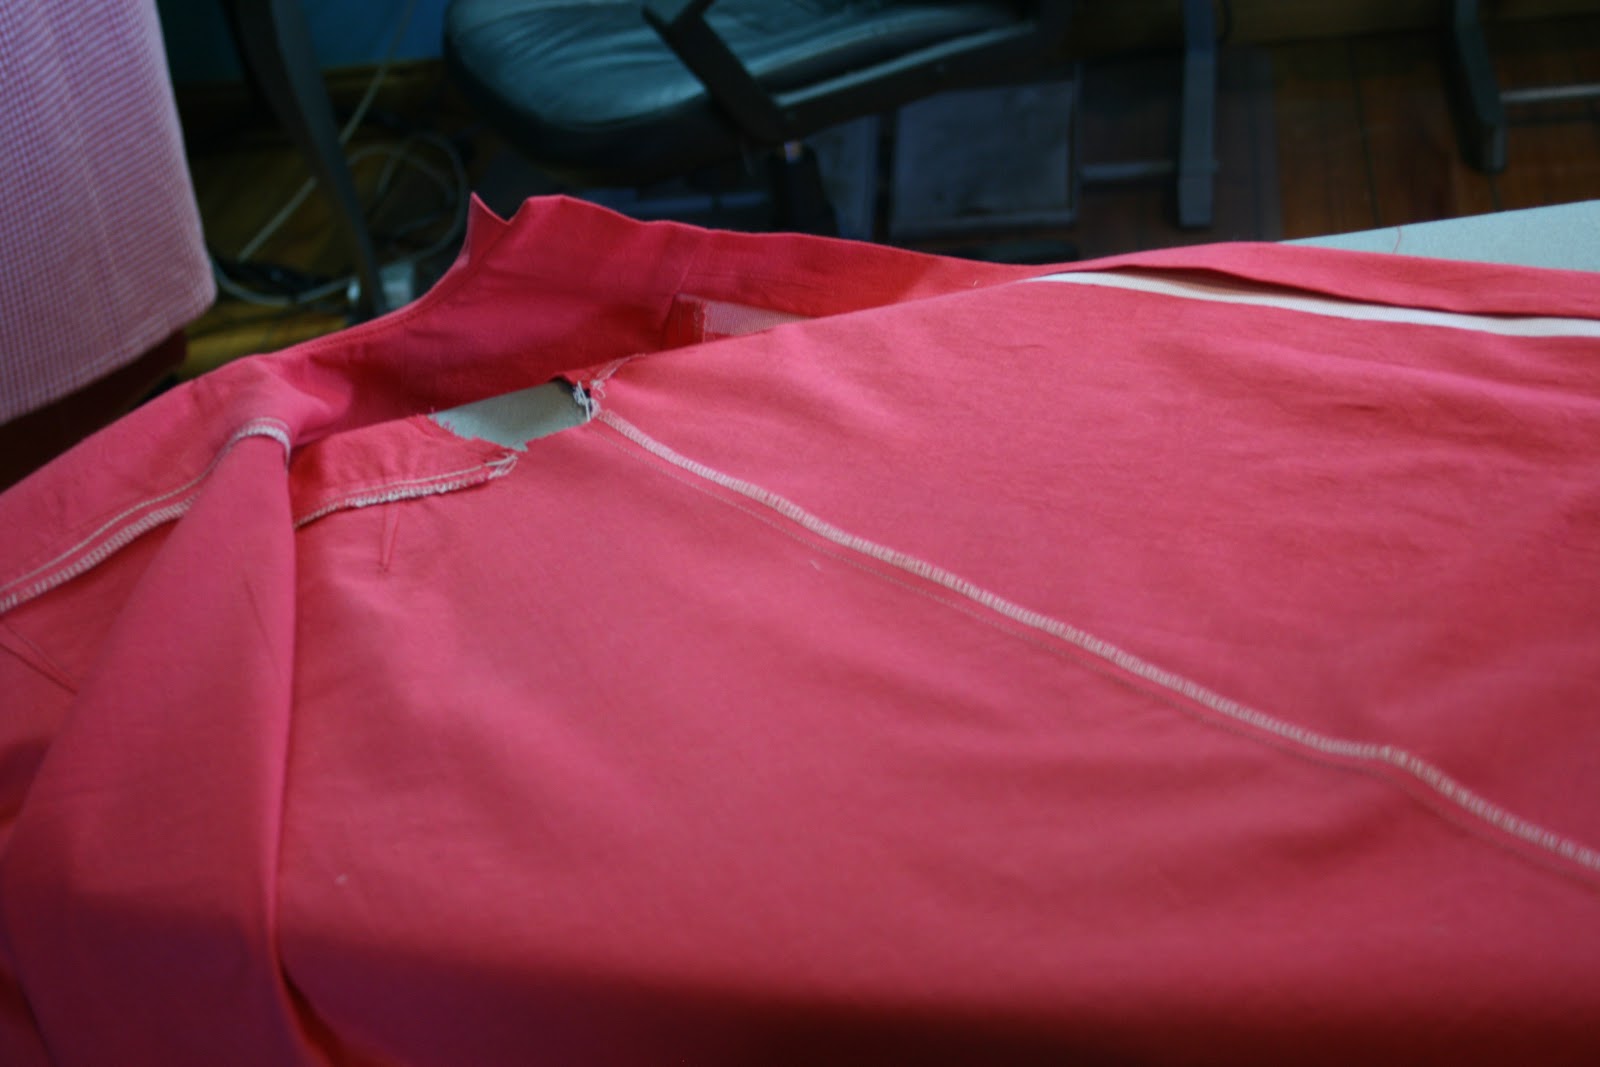
I take a wee detour here.

Clip the curves.


Back on the main road!

If you find this confusing pin the shoulders seams first.

I had to restitch mine a wee bit.


I like to reverse stitch over any seams that are going to be trimmed,just to re-inforce the stitching.
Trim the neck,the better you trim the better finish you will get.

For a nice turn,clip the points off at the beginning at end of the seam,it will reduce bulk.


Then press well.

This will hold the collar nicely in place.
I didn't get a photo of this step,if you need further clarification just let me know!


Press the bodice really really well.
And then press it again!
Pin the bodice to the bodice lining from the bodice side.

The lining will be caught perfectly underneath.
Baste the armholes together and trim the seams.


See you later alligator!
xx N
Next up Part Two.
This is going to be SO helpful! thank you!
ReplyDeleteMy absolute pleasure!
ReplyDeletexx N