

I use two rows of the largest stitch length.

Neaten the bottom edge of the sleeves.
Sew the side seams of the sleeve.

This will reduce bulk at the armsicle seam.

Following the instructions fold the sleeve cuff in half right sides together and sew across the ends.

Trim the seams and clip the corners.

Off road....
Turn and press the cuff,topstitch around the edge and then neaten the raw edge.

As per instructions,pin the cuff to the sleeve.
The ends of the cuff should meet the notches in the sleeve.

Sew the cuff in place.
It can be easier to sew on the inside.

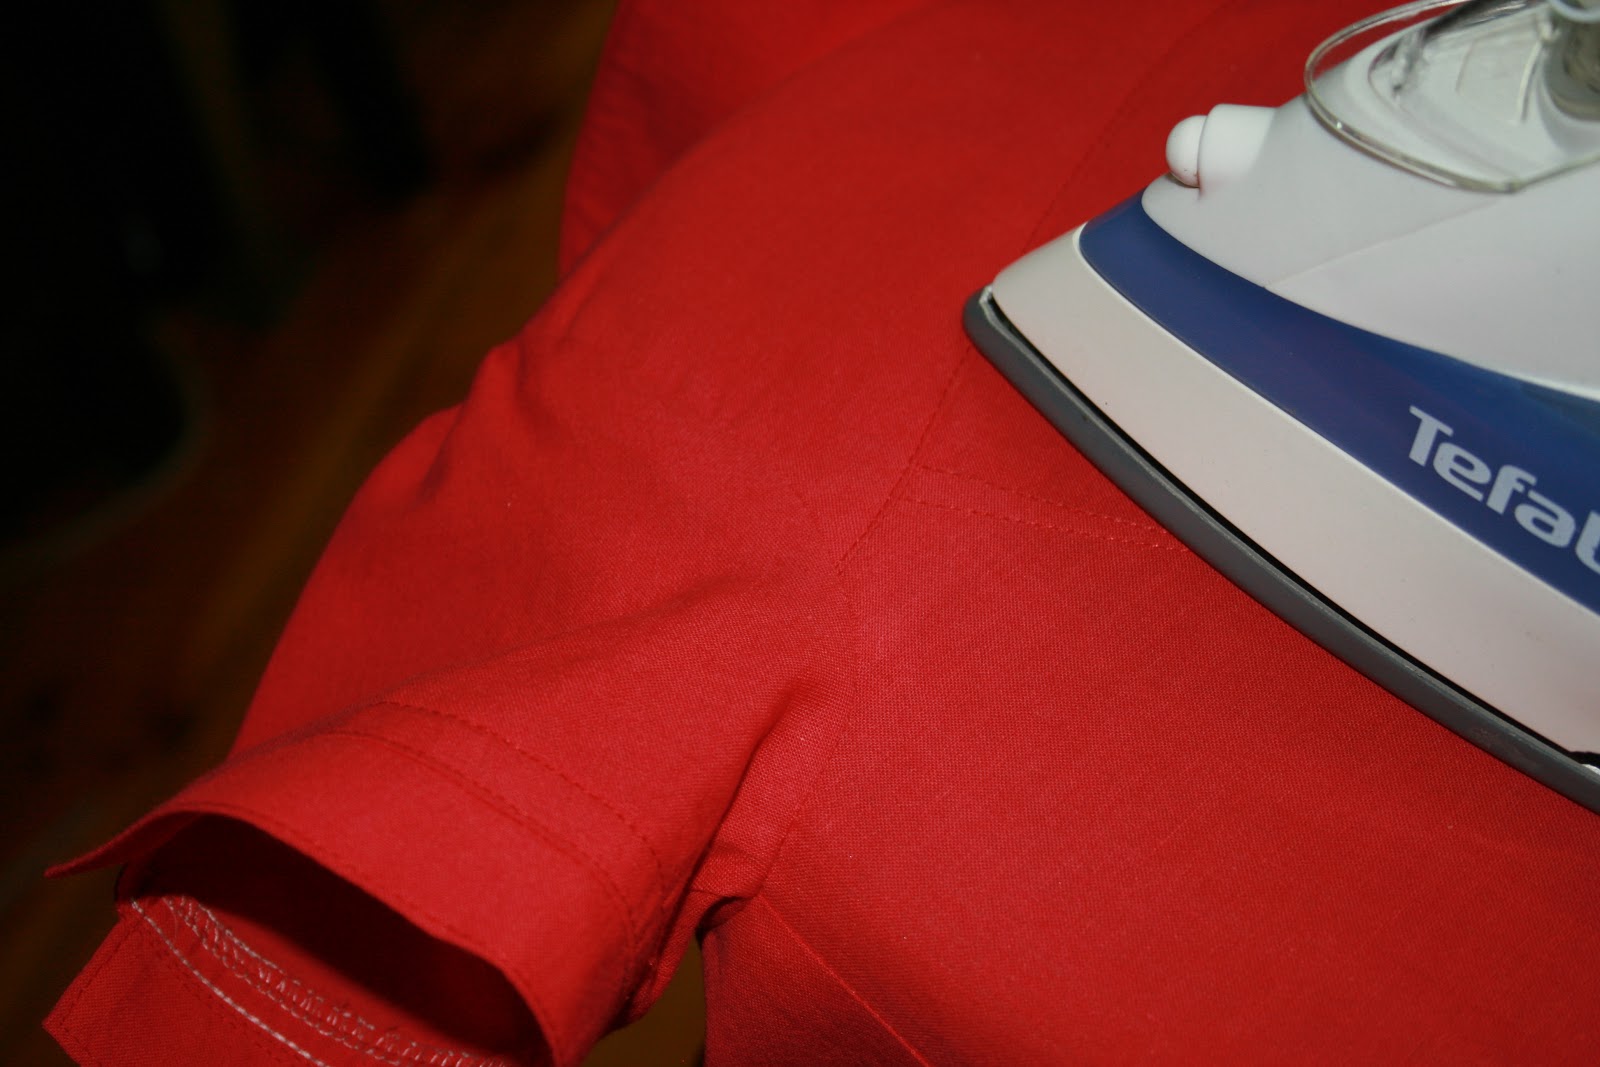
Press the seam towards the sleeve.

Top stitch the cuff with two rows of top stitching.
This will hold the seam in place and look kind of snappy too!

Pin the sleeve to the bodice right sides together matching notches.
Pull up the gathers on the sleeve cap to fit.

Sew the sleeve in place.

Check for tucks and remove them(if you find any)

Neaten the seam and press well.
Press the seam well from the right side.

Woo hoo!

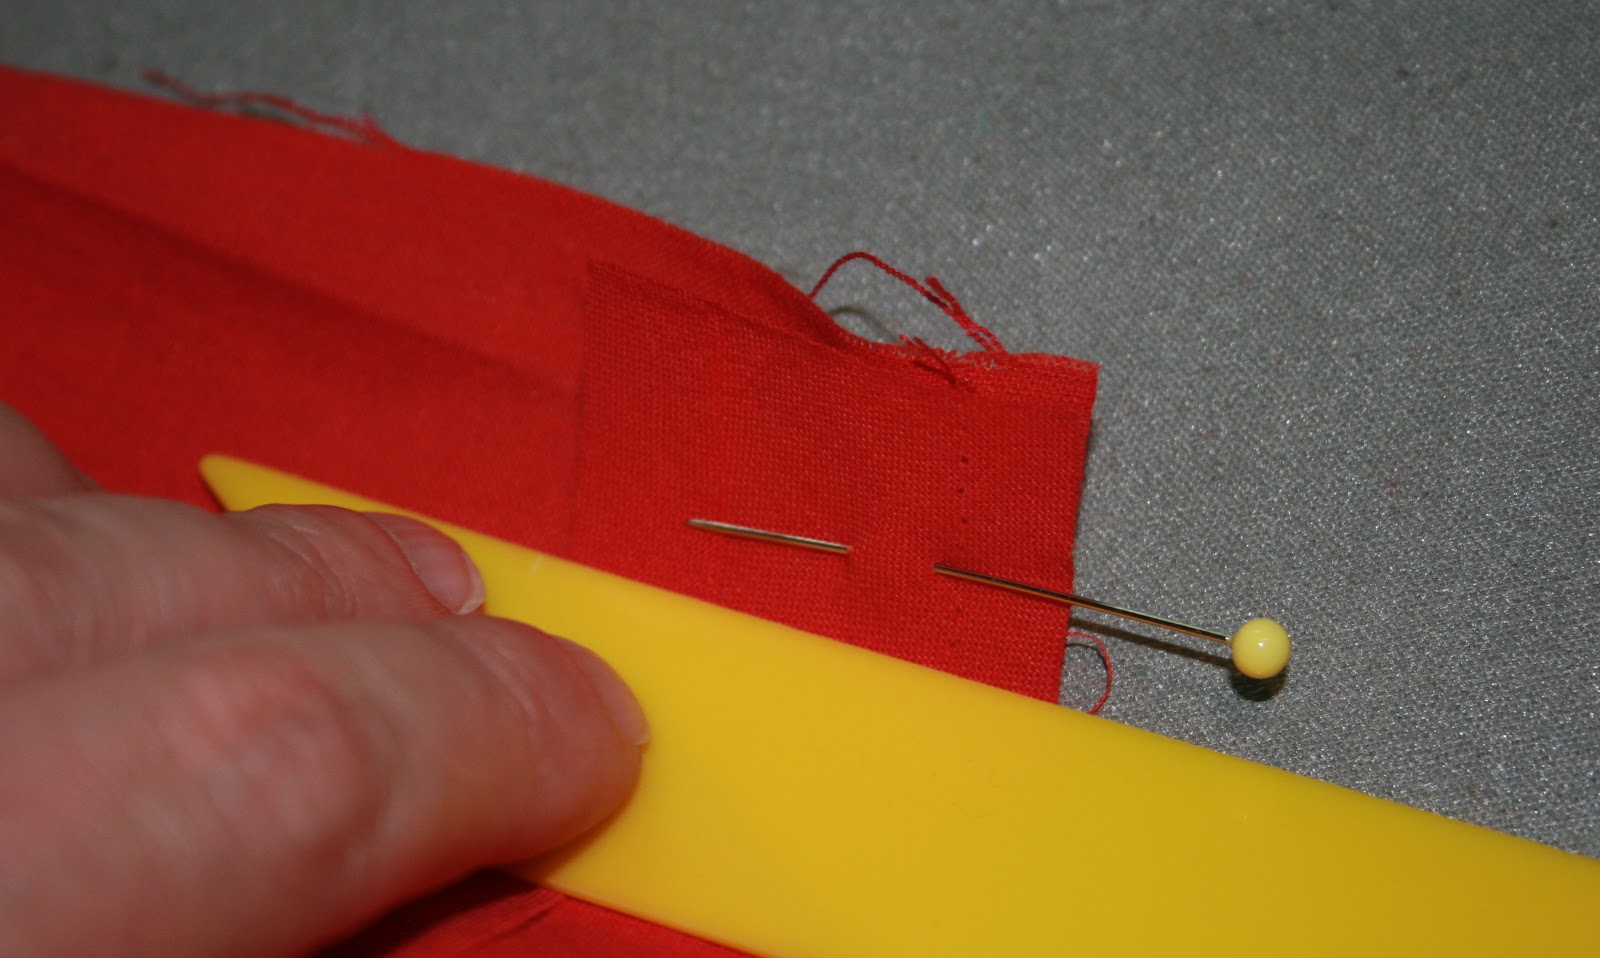
Pin the binding together at right angles.
I find two strips are plenty.

Sew together and clip the seams.

Press the seam open.
Following the instructions,unfold the back placket and pin the bias strip to the raw edge.
Sew.

Press the seam open and the fold the placket back on itself.
Stitch the bias strip to the dress hem 90% of the length and the sew the other end of the bias to the other raw edge of the placket that has been folded back on it self!
Repeat as above!
Its not so tricky when you are sewing it and it gives a beautiful finish.

Turn the placket back and fold up the hem.
Roll the hem seam slightly towards the wrong side,finger press,iron press and pin in place.

Starting just under the back bodice,sew the placket and the hem in place.
Take care to handle the hem bias carefully so that it doesn't stretch out of shape.

Press the placket and hem well and them mark the button holes.
For a few tips have a peep here

Don't forget those sweet little cuffs!

And you are done baby baby!

How cute is this?

Sweet sweet details.

Not an heirloom finish.......but very sturdy and straight forward.
I do have few piccies of a bound neater finish and I could probably be persuaded to do a mini tute but it is a lot of handsewing.
Just let me know-below (he he)

A perfect wee dress for my Kindy girl.


Go on,make a Puppet Show dress for your little girl,you know you want to.
xx N
Another gorgeous dress from the House of Nicole!
ReplyDeleteThank you Cindy,you are very sweet.
Delete(House of Nicole,that cracks me up)
xx N
Love the little bows on the front yoke.
ReplyDeleteThank you,sneaking some girlie touches in her uniforms.
Deletexx N
Oh my goodness! The ribbon! The buttons! The color! The apple! THE LITTLE GIRL! It's just perfection. I must make this pattern!
ReplyDeleteYes you must Inder and it comes in the tiny sizes so you won't need to wait!
Delete(Size up the shorts if Maggie is in cloth)
Thank you,Matilda is my little dolly at the moment.
xx N
It's beautiful on her, Nicole. I've only made the shorts so far...did you make any mods to the length of the dress?
ReplyDeleteThank you Susanne.
ReplyDeleteNo mods at all,the length was perfect.
I possibly could have made the 2T but I had this size drafted.......
xx N
PS The tag says 2T as I didn't have any 18-24 month tags,only 12-18 mnths.
ReplyDeletexx N
I love the color, the bows, the buttons, the model- all of it! Thanks so much for blogging this one, I had so much trouble on a few steps but now I will just look here!
ReplyDeleteI struggled with this one Brittney,my method is a bit more 'industrial' but it is sturdy and very wash and wear.
ReplyDeleteIf it is any help at all I am very pleased.
xx N
Great Job, I had a hard time with the back placket part and ended up doing my own thing. Also the hem seemed difficult too which you would think it would be the easiest but the rounded edge gave me creases. Yours looks like it was a breeze!
ReplyDeleteThank you!
ReplyDeleteIt is a clever construction but it did take me a few 'goes' to get it right.
Is it a bit sad that I check out my old tutes to remind me how to do things?
xx N