More Bubbles!
 |
| Finished bodices |
Following the pattern instructions, sew the back skirt and back skirt lining together, stopping at the transferred notches and press the seam open.
 |
| Sewing fronts to backs |
Sew the front skirt to the back skirt on main skirt and the lining, matching notches.
 |
| View A |
For view A in can be helpful to draw the stitching line to help stitch neat curves. Take your time,lift the foot and turn when needed, slow and steady is the way!
 |
| Trim the seams View A |
Trim the edges with pinking shears or follow the patterns suggestion of trimming and cutting notches as necessary.
 |
| Trim the seams view B |
Following the pattern turn the skirts the skirts right side out,roll and finger press the side seams. When you are happy with the finish, press the seams with the iron. I press mine to one side.
 |
| Skirt and lining view B |
 |
| View A |
As per pattern instructions, mark the stitching line and use pins to hold the layers together.
Top stitch this line.
 |
| View A |
This next step is a experiment. I love the scallops but was disappointed when they lay flat against the dress. So this time I have stitched them flat top and bottom to see if they will sit up a bit more.
 |
| Before |
 |
| Pressed,pinned then stitched |
 |
| Side seams |
Place the skirt and skirt lining right sides together one inside the other. Pin around the bottom of the two skirts and sew together.
 |
The skirt SHOULD be longer than the lining!
|
 |
| Stitched hems |
 |
| Elastic marked in equal quarters |
Following the pattern, cut your elastic, join and mark in quarters(front,back,side seams). I cut my elastic a good 2'' shorter than the guide as I found my last dress did not balloon enough.
 |
| Attaching elastic to the hem |
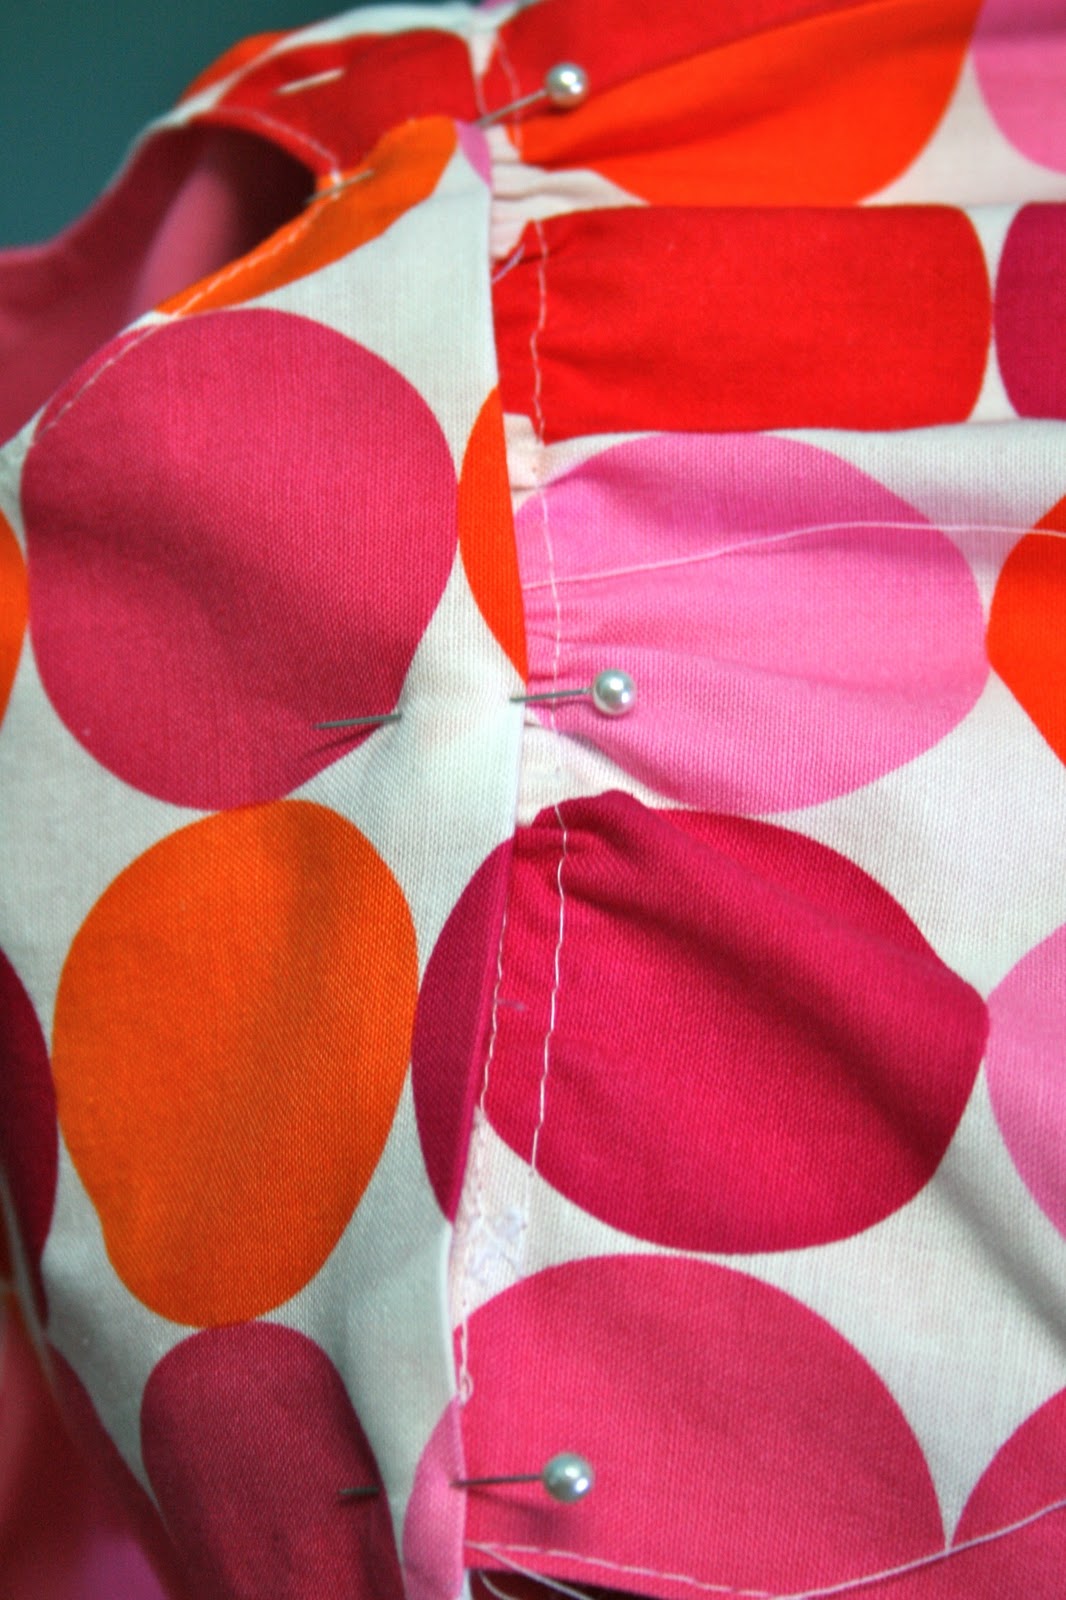
Pin the elastic to the hem evenly, this is simple! Match your pins to the front, back and side seams, a gentle stretch and a few extra pins!
 |
| Zigzag the elastic to the seam allowance |
 |
| Stretch the elastic as you slowly sew, I promise, it's not hard! |
 |
| Ta-dah! |
 |
| More ta-dahs |
 |
| Top stitch the opening |
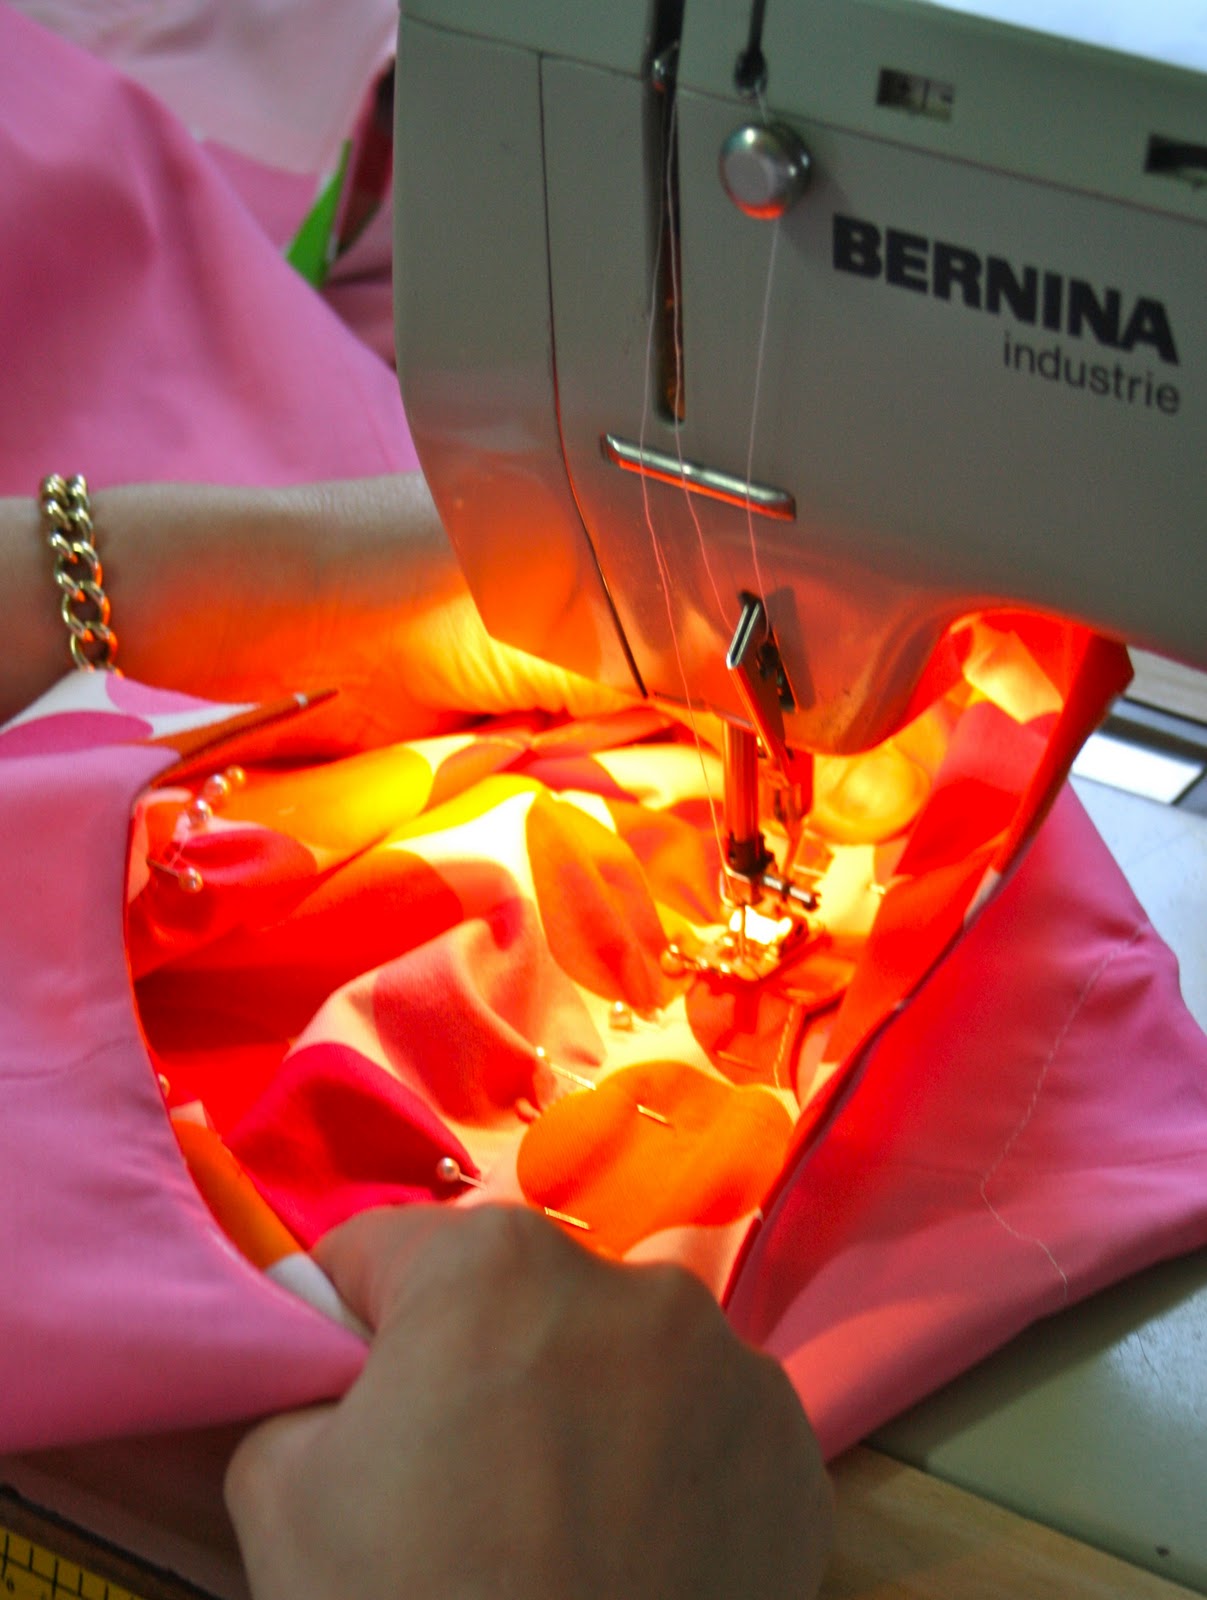
Match the skirt tops(top skirt and lining) pin together. Following the pattern, top stitch the back opening catching the lining.
 |
| Top stitching |
 |
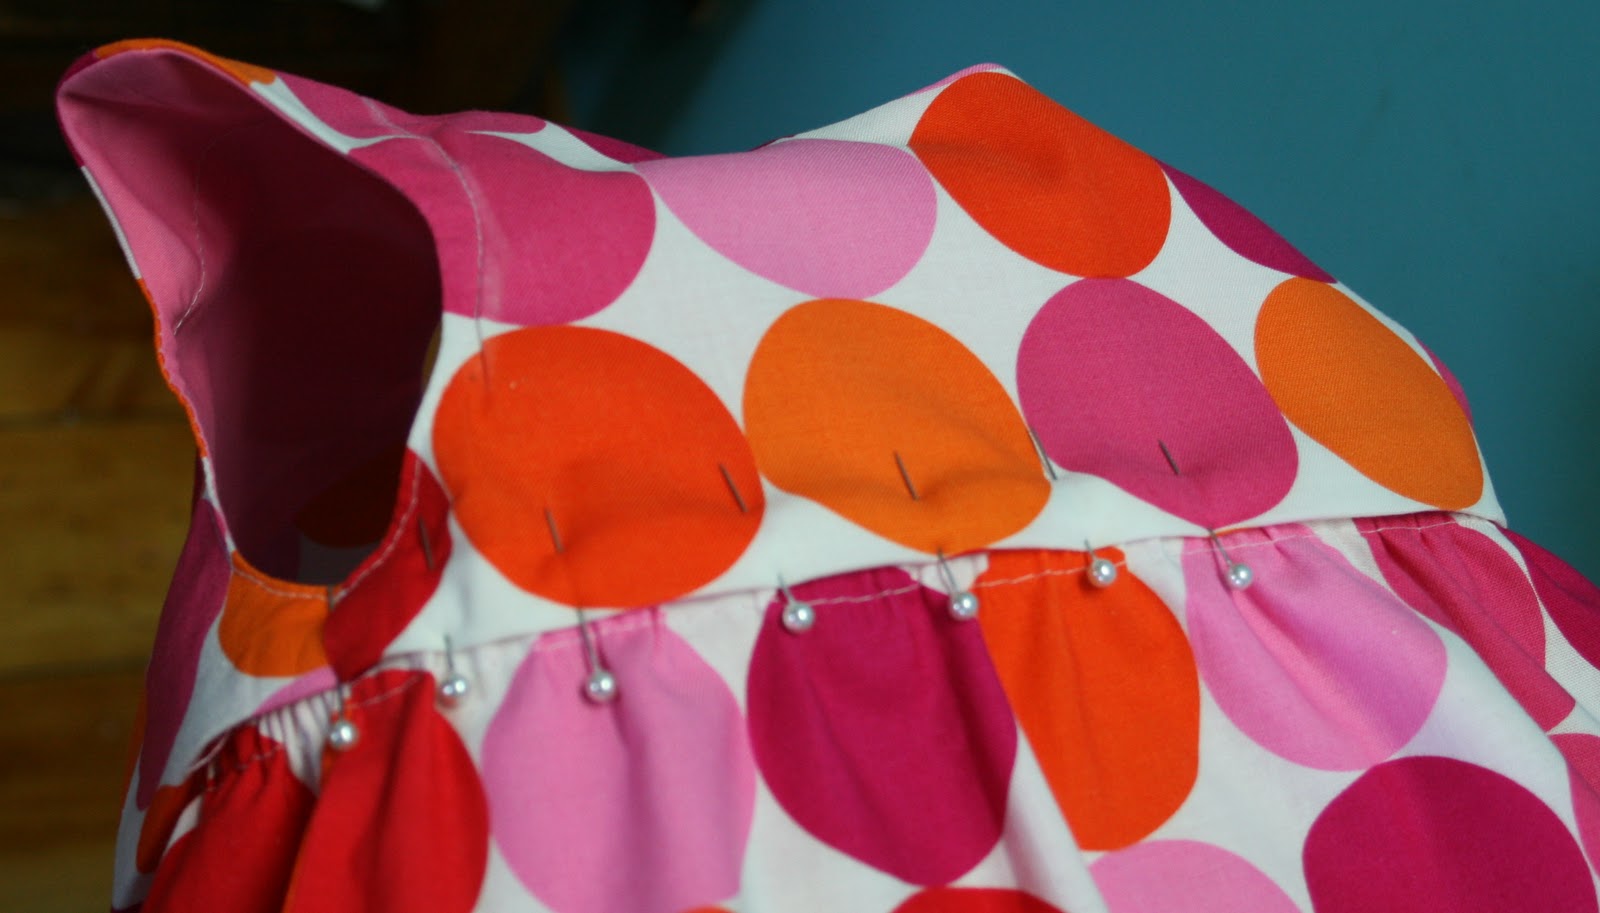
| Skirt and bodice |
Two become One! ( Oh dear, channeling Spice Girls , time to go to bed)!
To be continued.....(only one more, promise)!