 |
| The last step we sewed. |
Now,where were we? Oh yes.....
 |
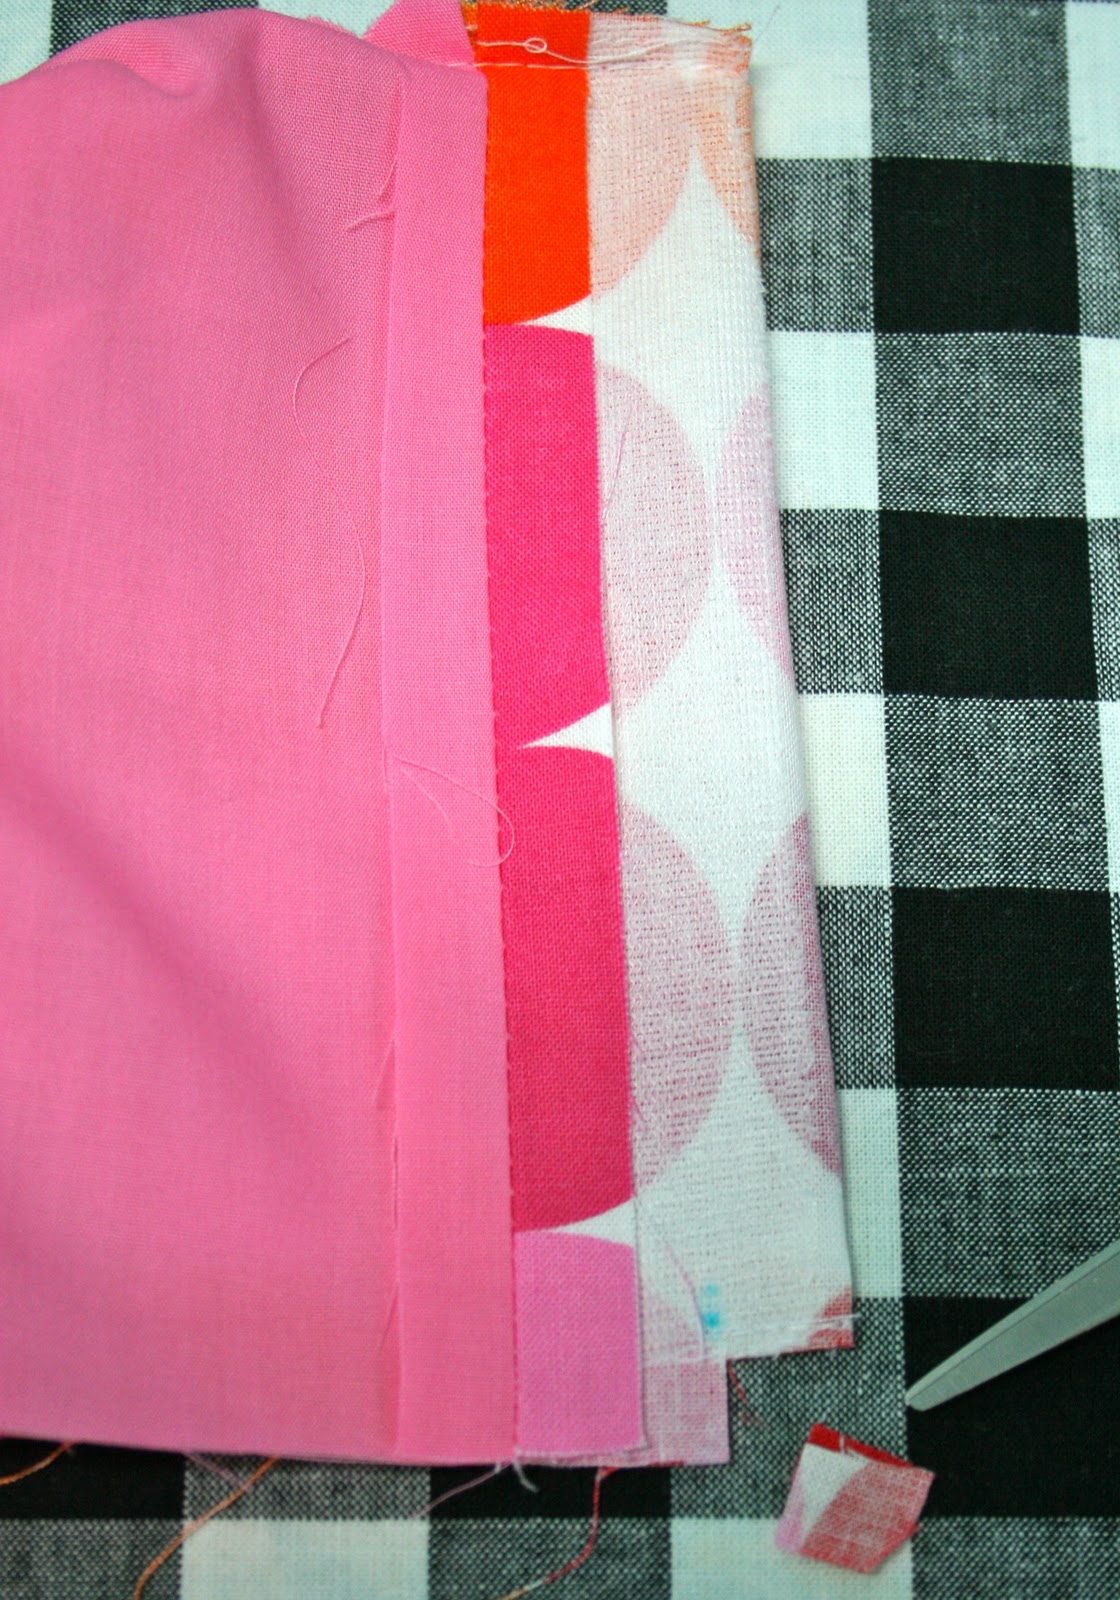
| Trimming the seams. |
Trim the arm and neck seams as directed in the pattern instructions.
 |
| Necessary notches! |
Clip notches in the curves , taking great care NOT to snip your stitching. Don't skip this step or it will just not sit nicely
 |
| I did it myyyy way! |
Now , this next step is how I do it, NOT the pattern instructions. I could not find this step in my pattern anywhere....if you do , your a better man than I am Gunga Din!(Or my pattern is dodgey)
To turn this placket later, it has to be trimmed. So I clipped up to the stitching dot from the bottom of the bodice and from the folded side.
 |
If anyone has this instruction in their copy, please let me know.
 |
| Pulling the bodice through. |
Following the pattern instructions, working from the front bodice, carefully pull the back bodice through so the complete bodice is the right way out.
 |
| Collar point |
Before pressing with an iron, roll the seam between your fingers gently,dampening it if needed, to make sure the edge is true. Use a collar point to gently push your corners out.
 |
| The inside neckline |
Roll the lining so the bodice fabric shows slightly around the edge of the neckline.
 |
| The bodice |
When you are happy with the finish you can press with an iron, taking care no to stretch your curved edges.
 |
| The back of the bodice |
 |
| How flukey is that? |
 |
| Necessary pain! |
Following the pattern instructions, gently pull the bodice apart at the neckline and stitch the seam allowance to the bodice lining. This will help stop the lining peeping out. Do this step!(Or I will be cross).
 |
| Ready for the side seams! |
I have to go, it's 'bath' o'clock!
To be continued......
Oh, of course!!! Trim the placket!!! For the life of me I couldn't work this out! Ended up just poking as straight as I could!
ReplyDeleteAnd I did stitch my lining to the seam allowance!!!!
Good girl Justine!(he he)
ReplyDeleteSo you found this bit tricky too? I guess this is how you do it?
xn
So, am I correct that you sew an "L" shape in the bottom of each bodice edge, and then cut inside it, below where the buttons and button holes go? To make the overlap above the skirt? I end up hand sewing this! Thank you for this!
ReplyDeleteI sewed across to the dot, not an ''L'' shape. That may very well work too though Millie.
ReplyDeleteSo your pattern did not show this either.....It not really mentioned in the forums, I guess people are nutting it out!
Wow, those dots are fun (and I giggled aloud at the funky matching dot)!! I LOVE the bunnies. Great idea and job placing them front and center on the bodice!
ReplyDeleteThankyou Mel, that dress is a birthday present for a dear friends very special little girl! (and she is a very good sewer , so I want it perfect)!
ReplyDelete"Do this step or I will be cross" That just made my night!! P.S. thanks for another brilliant tutorial, the twins will have new bubble dresses for their birthday after all! :)
ReplyDeleteI am so embarrassed!
DeleteI can't believe I said that.
Thank you Britters, I can't wait to see the little girls dresses.
xx N
Don't be! I thought it was so funny, especially since I nearly skipped the step, haha! I knew I would regret it though if I did.
DeleteHe he, xx
Delete