My beautiful girl requested a special dress. She had a picture and had already purchased the fabric.

So Matilda hopped onto Sewist and designed the pattern for me.
Sewist is a website that you can use a photo of a dress as an inspiration and design your very own pattern. The bonus is the pattern is then made to your custom measurements so fitting is minimal. Tilly has a good eye so I tend to get her to design them for me.

As I was self lining the bodice I made a 'wearable muslin' and fitted that, then trimmed and altered the pattern before cutting the main.

The under bust area just needed a little taking in, not so bad!
Next I fitted the drop waisted panel. I took this in a little more as Lids wanted it to be quite a snug fit.
Once I achieved the required fit I sewed the top and bottom bodice sections together.
Lidia likes a little padding in her bodice so I attach swimsuit bust pads to the lining. I also added boning to the seams of the waist panels for extra structure.
I found the front edges of the dress were gaping a little so I ran a gathered stitch along the 'V', just to remove some extra ease.

Lidia was keen for a proper party frock with lots of 'puffiness'. I had a bolt of gold, bridal tulle in my stash. Bridal tulle has a softer hand and is not as scratchy as regular tulle but still gives a nice fullness.

I decided to sew a layer of tulle between the sleeve lining and main, just to accentuate the puff a wee bit.

I sewed the sleeves, finishing them with a bound, bias edge.

I gathered the sleeve cap with two rows of thread and popped them to one side.

Next I started on the skirt. I like to do a narrow zigzag to neaten the bottom edge.

How I just love sewing a proper frock with all the underpinnings.
On to sewing the main dress. The main skirt has lots and lots of pleats rather than gathers.
I then put the main dress and the lining together, sewing them at the neck line. I trimmed that seam and then reinforced it with horse hair braid, turning, pressing and understitching to the lining.
After that, I set in the sleeves, binding that seam for a perfect finish. I hand sewed the lining to the zipper edge.
This dress had a lot of steps but due to the cotton fabric was not so difficult to sew.
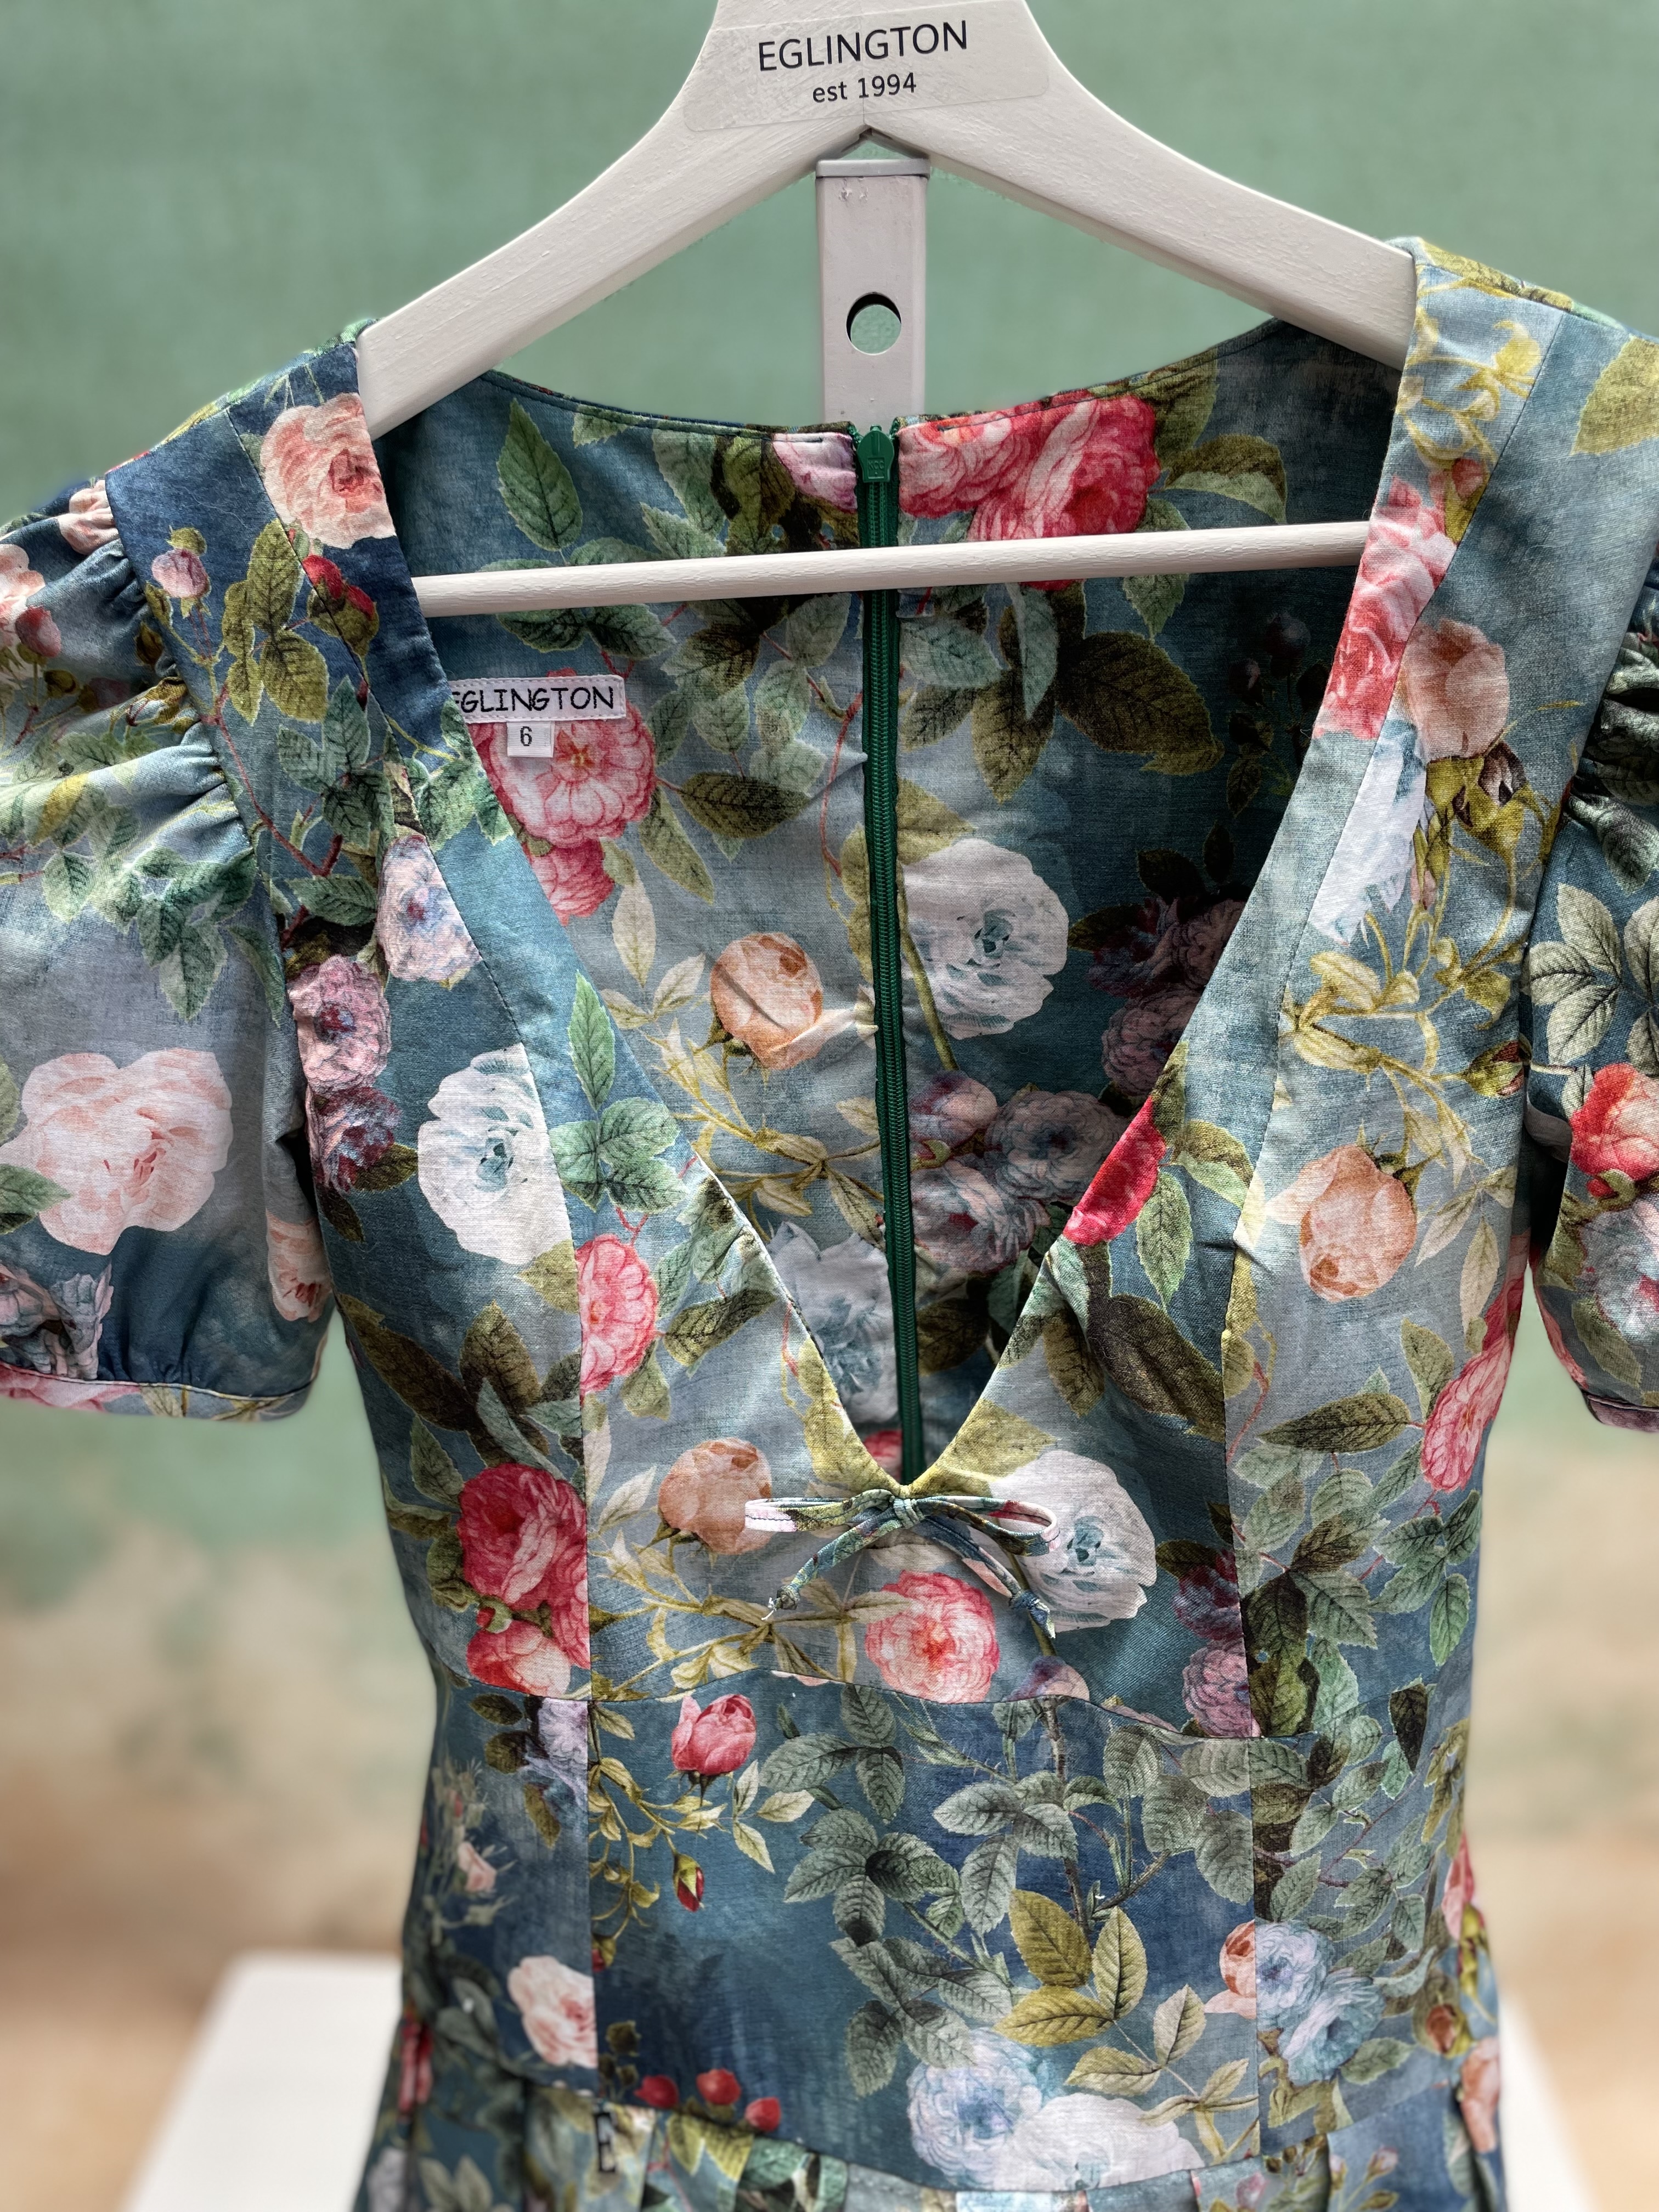
Can you see the sweet self bow?


A perfect party dress!


Beautiful on her.

Perfectly coordinating with her sisters.

For her brother's wedding.
Thank you for reading, take care xx Nicole