Sorry Chaps, I took a little break.
BACK TO WORK!
Following the pattern instructions start sewing at the nominated point.
Whenever I sew over a seam that will be trimmed later, I like to reverse back and forth to secure it.
Check for tucks and remove them.
Yes, even if they are hidden under the collar!
Press the seams really well.
Trim the seams back snipping off any corners.
For a bit more ease I like to use pinking shears to trim the neck.
Press a narrow hem along the bottom of the coat.
Turn the facing and gently push the corners out.
The raw edges of the turned hem will be neatly held behind the front facing.
Continue turning the facing.
Press the facings in place.
Take you time, roll the seam under your fingers to get a nice seam edge.
PS I was quite poorly when sewing this garment. It appears that I stay stitched the facing to the neck seam allowance.
It does help it sit nicely but I have no photos-forgive me?
Pin the hems and facings in place.
Sew the hem.
I stitched the bottom edge of the facing in place.
Press well.
Stitch the outer edge of the collar facing.
I finish at the collar stitching.
Match up the stitching lines.
Nearly there Baby!
Taking your time, pin the facing to the jacket at the internal seams.
This is where you will hand sew it in place.
Here.
And I machine stitched the facing here.
Its barely noticeable and holds the facing nicely in place.
Next-buttonholes.
For some tips see here
As I added length to the skirt I needed another row of buttons.
See how the fabric is printed in a unusual fashion?
That was freaking with my head when I was sewing the button holes.
Sew the buttons in place.
These were a chunky wooden button so I sewed them by hand with embroidery floss.
I decided to make a belt instead of a sash so used the width of the fabric for length.
First, I pressed in the selvedges to the wrong side.
Opening up the selvedges again, pin the belt right sides together and sew.
Press the seams open.
A length of dowel is perfect for this. Thank you Liesl!
Fold the pre-pressed selvedges back in position.
Using a nappy pin, thread it as pictured through the belt and pushing the head through the tube, turn the belt.
Press well, keeping a seam down the centre back.
Edge stitch the belt.
I used a beautiful vintage buckle sent to me by my good friend Karen, isn't it fab.
It took a bit of jiggling to get it just right but I am very happy with the results.
Next time I will baste it before sewing.
Possibly will result in less swearing.
But how cool does it look?
Thank you Karen!
Press the belt loops pieces in half.
I actually interfaced this for some extra oomph.
Then press in again.
Edge stitch the loop and then snip into two pieces.
To deter fraying I zigzagged the cut ends of the belt loops.
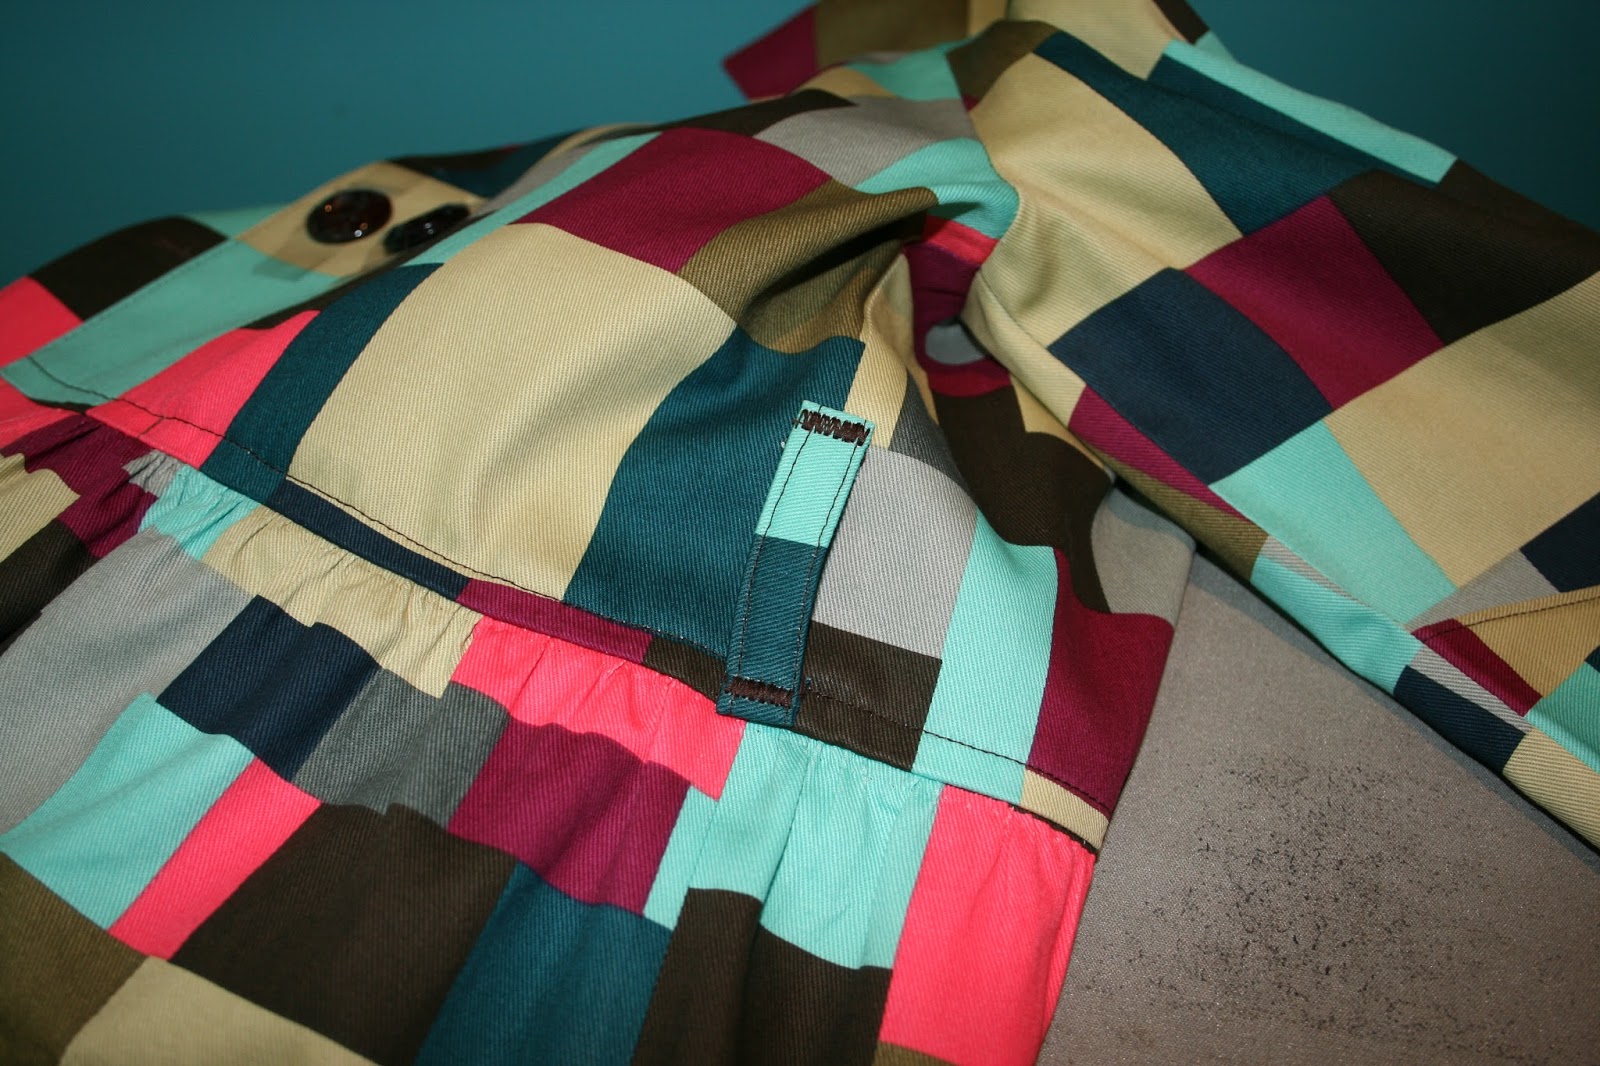
Pin the belt loops in place at the side seams.
And sew in position.
I used a zigzag stitch.
And that is it Baby!
I hope I shall see lots of Secret Agent trench dresses this season in the flickr pool.
PS Please excuse any editing (or lack of it) in this tutorial. I am not quite %100 yet.
As always, feel free to approach me with any questions.
I am very happy to help.