Even though I made Tilly the dress not the tunic I still wanted to make the shorts.
 |
Puppet Show shorts worn with the Music Class shirt
both by oliver+s |
Of course!
Now,there is a couple of things to check when you are making these.
- Size up for a cloth nappy,by 3 or more sizes.
Check the leg binding length. In one batch of patterns it is too long so there are no gathers in the legs. (See Tilly's above) You will need to shorten the binding by a inch or so.
Off we go,tally ho!
Baste the edge of the pocket to use as a turning guide.
Sew two rows of gathering threads between the notches at the top of the pocket.
Fold and press a 3/8ths seam along one edge of the binding.
Pull up the gathering threads to fit the binding.
If you knot the threads together it will enable you to ease the gathers along the whole pocket.
Pin the right side of the binding to the right side of the pocket.
Sew and trim a wee bit.
Press the binding up and the seam towards the binding.
Fold and press the edge of the pocket along the basting thread.
Flip the binding over so that the back is wider then the front and press in place.
Pin and topstitch the pocket binding from the right side.
Topstitch in place.
Mark the pocket position.
I gently poke holes in my pattern piece and then mark with my chalk pen.
And then join the dots!
Pin the pocket in place using the pocket placement line as a guide.
Sew the pockets in place.
Gather the legs between the notches.
Pin the inside leg right sides together.
Sew,neaten and press the seams well.
Right sides together pin the centre seam.
Sew the seam,re-enforce the seam and then neaten.
Pre-fold and press one edge of the waistband by 3/8ths.
Pin the raw edges of the waistband together and sew,unfolding the 3/8ths edge.
Re-fold the edge.
At this point I like to interface the front of the waistband. I use a couple of layers to get a nice flat front.
Pin the right side of the waistband to the wrong side of the shorts.
Sew and press the seam up towards the waistband.
Fold the waistband over and pin in place covering the previous stitching line.
Leave a small gap at either side to thread the elastic through.
Press well.
Getting there.
Pre-fold one edge of the binding.
Pin the leg bindings together.
*
Remember to check the length if you want gathers*
Pin the right side of binding (the edge not pre-folded)to the wrong side of the inner leg.
Sew in place.
Press the seam towards the binding and then fold the binding to the front and pin in place.
Press well.
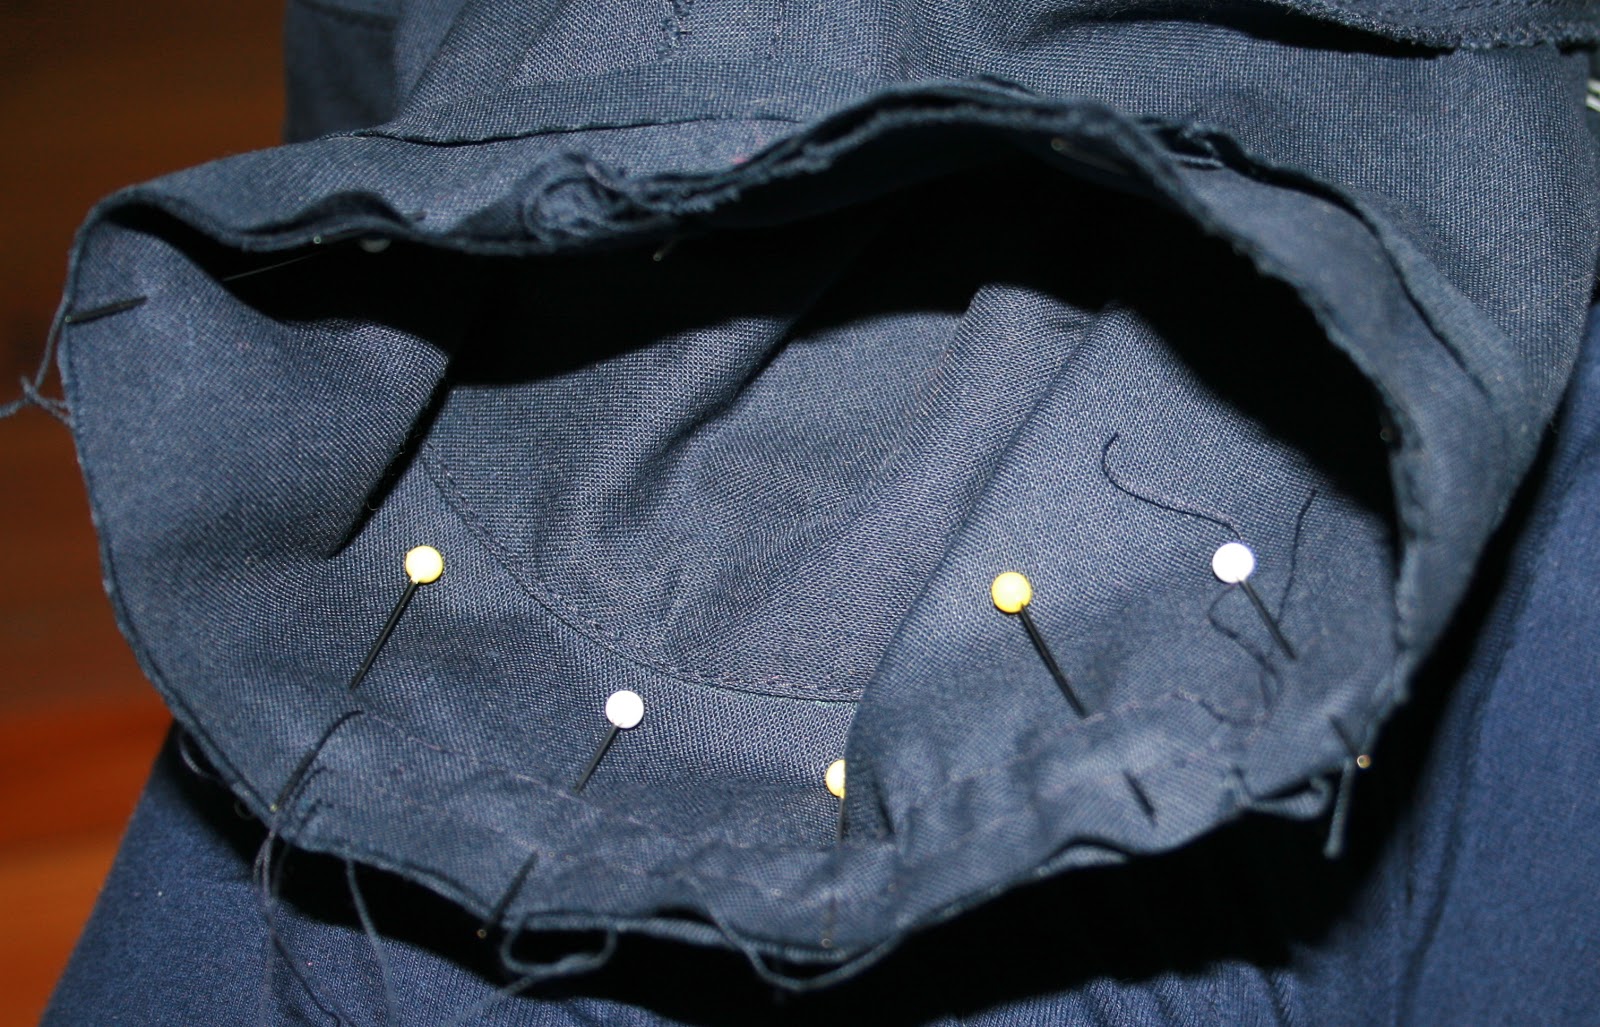
Here you can see the difference between the gathered shorts and the larger binding that produces no gathers.
Thread elastic through the back of the shorts.
I measure across my child's back,hip to hip and cut the elastic 2/3 rd's the length.
*ETA another method, to get that nice flat front, is thread the elastic through as normal and then smooth the front waist (push the gathers to the back) and topstitch the waistband, vertically.*
Like so (see above)
Catch the elastic across the waistband and sew up the gap.
And we are done!
I added some cute little bows.
Just right for Kindy.
Doncha think?
xx N