How you be,Chickadee? Blouse Tutorial Part 1
I had an uncle who used to say that......
Next on the cutting table for Liddy is the Chickadee blouse and skirt.
She choose some lovely shot cotton for the blouse and the last of a piece of Prince Charming for the skirt.
As Lidia is quite skinny I went with her chest measurement for size which put her into the 5. She is a short to average height for a seven year old so I lengthened the sleeves and hem to a 7.
I did not lengthen the blouse bodice pieces-just the hem!
Off we go!(I made two blouses at once so don't be confused,it won't be a multi-coloured wonder)
Following the instructions,interface the collar.
Sketch 1(on the pattern sheet)shows clearly which pieces to interface.
You want to interface the under collar.
Pop the collar pieces to one side.
Next transfer the box pleat markings to the lower font and back pieces.
I like to poke a hole in my pattern with a pin and then mark with tailors chalk.
It can also be helpful to snip 1/8 '' above the transferred marking to make matching easier.
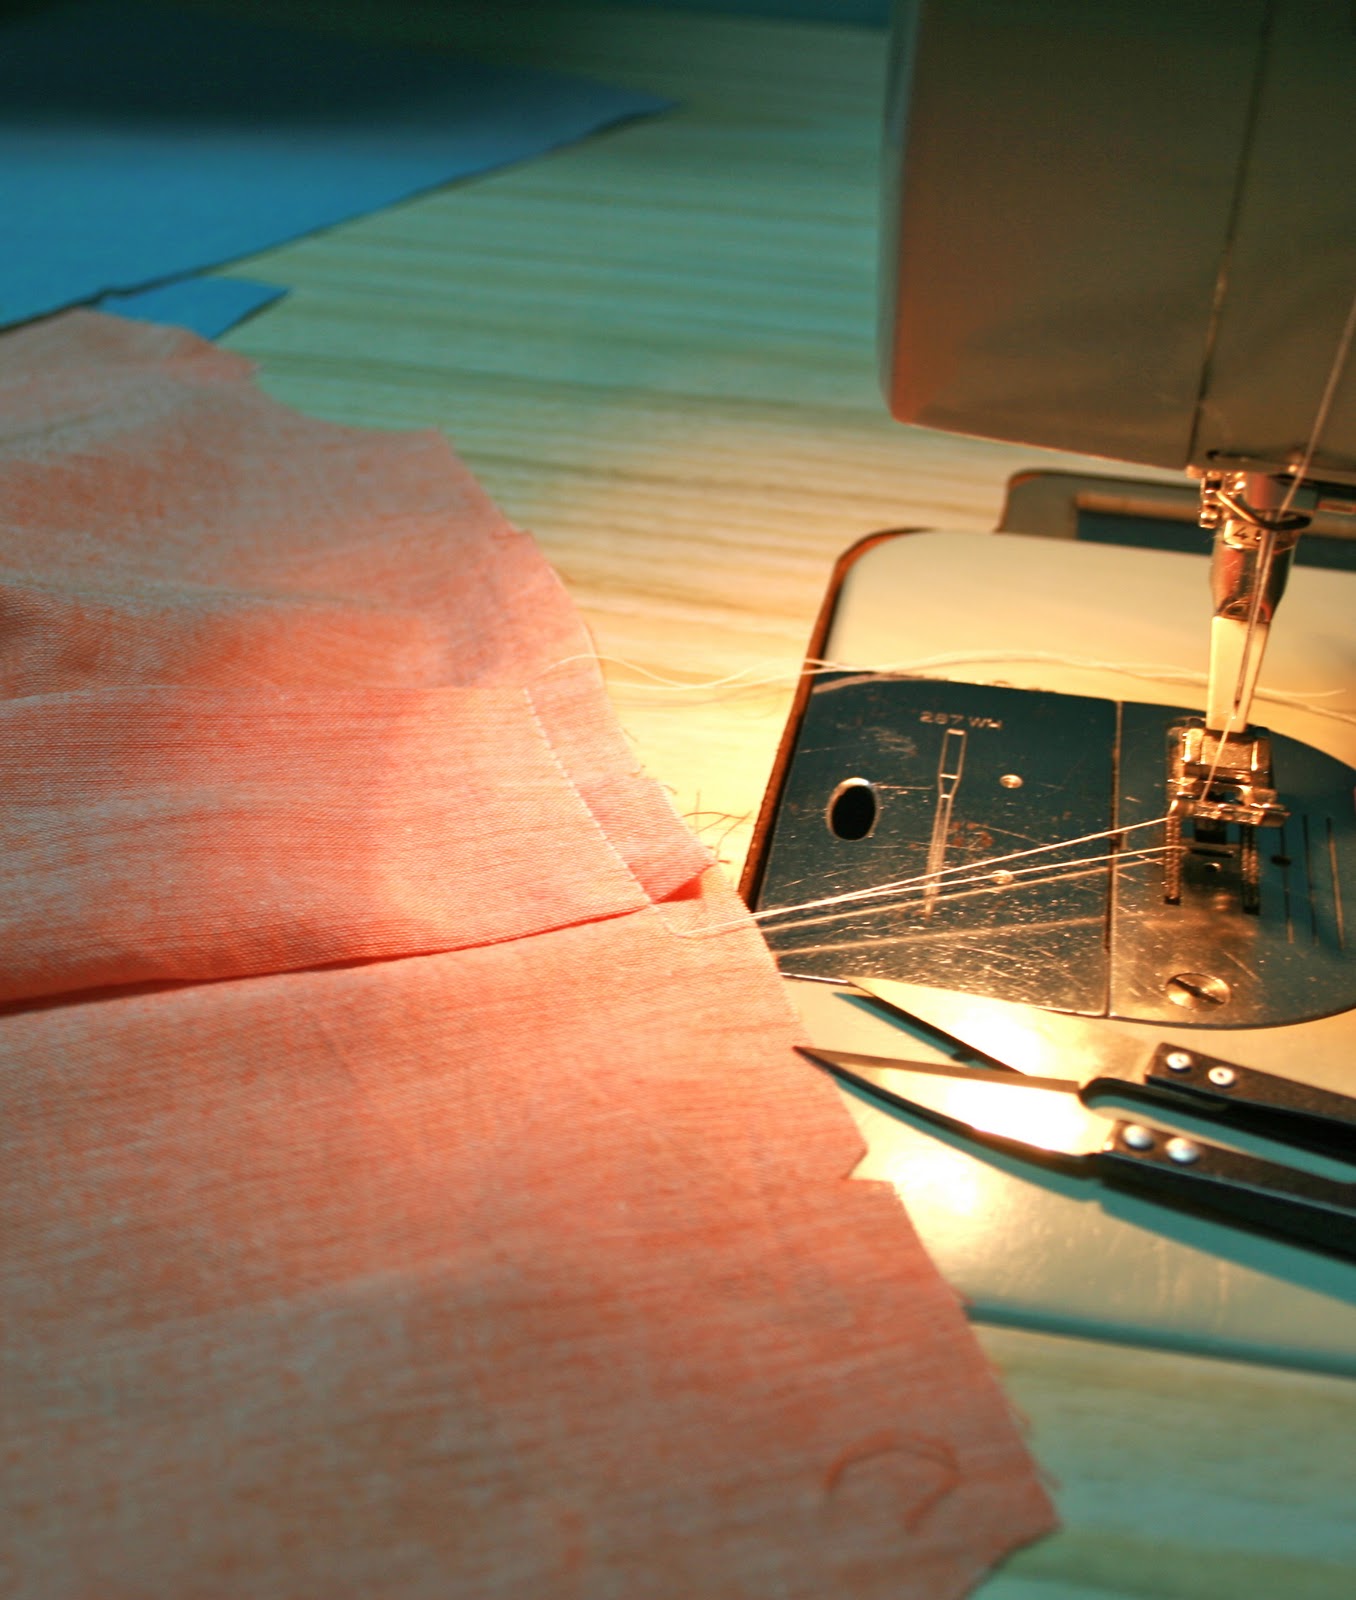
Following the pattern and using its diagrams for reference match the markings to create the box pleats.
Stitch from your snip down to the markings.(Approximately 1'')
The stitched seam.
Pinch the box pleat up and then fold it against the blouse with an equal amount of pleat either side of the stitching.
It can be helpful to match the snipped 'bits'.
See the pattern instructions for more sketches.
Baste the box pleats in place.
Baste just inside the seam allowance.
Press the box pleats in place and put the pieces to one side.
Matching notches pin the shoulders of the front and back upper blouse pieces together making sure you create mirror versions.
You may find it helpful to mark the main & facing.
I know I did!
Press the seams open.
Isn't the shot cotton pretty?
With right side together sew the centre back seam of both upper and under collar.
Again you should have mirror images.
Press the seams open.
Following the pattern instructions with right sides together,pin the upper collar to the facing upper blouse and the under collar to the main upper blouse.
Match the notches to the side seams.
Sew taking care.
Lift the presser foot often and turn gently to follow the neck curve.
Trim the seams and clip the curves.
Press the seam open on both the neck seams.
I found it helpful to press again from the right side.
Following the pattern stitch the button loop elastic to the front facing right side.
Pin the main and the facing upper blouse and collar pieces together.
Match the collar seams making sure seam are flat and even.
Take care when stitching to keep the extra fabric out of the way to avoid sewing it into the seam.
Press the seam well checking for tucks.
Trim the seam.
I like to use my 'Millie' pinking shears.
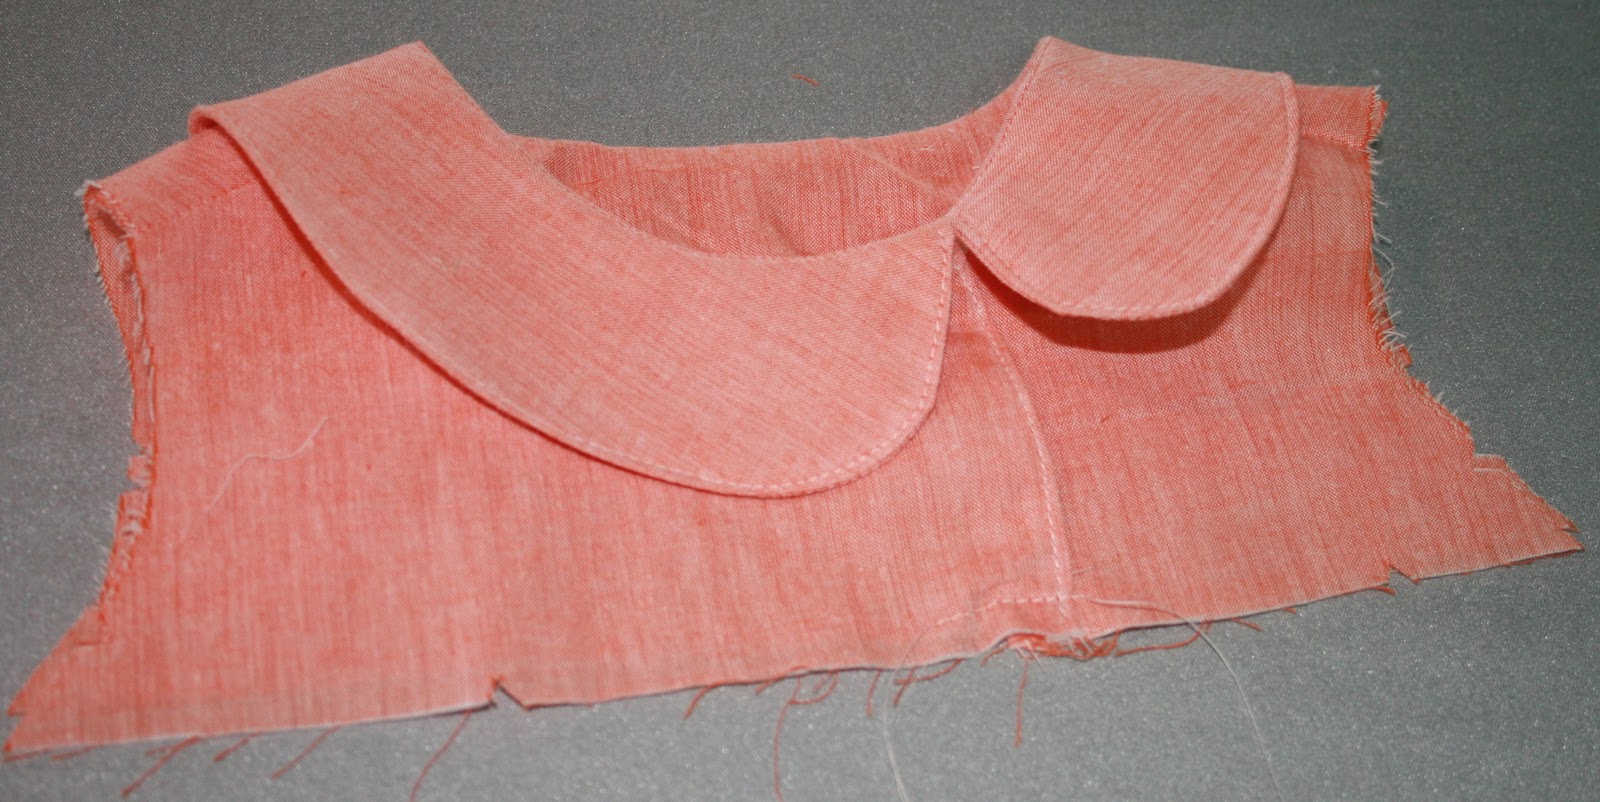
Turn the upper blouse through.
Finger press the seam,rolling the curves underneath your fingers until smooth and then press well.
Isn't it sweet?
Press the collar well.
I chose to edge stitch at this point.
Following the instructions overlap the bottom of the front placket by 1/2''.
Next-attaching the lower blouse and sleeves!
Thanks for stopping by!
x N


I've been meaning to start this pattern but I've been lazy -- thanks for letting me get some virtual sewing in this morning :)
ReplyDeleteThis comment has been removed by the author.
DeleteThank you for your tutorial. Your curves are beautiful. I bought this pattern from the happy 2012 sale on the Clever Charlotte website. I'm not sure about the collar on my 2.10 granddaughter. She is picky about her clothing right now but I really want to sew one for her.
DeleteLovely, Nicole. I can't wait to make this pattern too. Looking forward to seeing your version(s)!
ReplyDeleteps. If someone told me, "your curves are beautiful" I'd smile the whole day!!
My absolute pleasure Icicle,he he!
ReplyDeleteThank you Kim.
The apricot version is for my (nearly)3 year old Matilda I am hoping it will not be to big as she is weeny!
I think the collar will be lovely as it doesn't seem firm,I will let you know what Tildy thinks.
Thanks Susanne,I am so keen to finish but Matilda is missing her siblings so jigsaw's are taking up sewing time at the moment.
As for beautiful curves? I will take that!
x N
Seriously this just happened: I was in the basement in my sewing room making this blouse for TBD when I realized I was stuck at a step in the middle and just couldn't visualize it. I remembered that you had done one of your fantastically detailed tutorials on it and said (out loud in a room by myself, mind) "Nicole to the rescue!" Thanks for all the care you put into these, it is very much appreciated!
ReplyDeleteSeriously? That is such a buzz-I love that they are useful(and I must admit I do go back and have look sometimes myself,I am a bear of little brain at times).
DeleteI can't wait to see your blouse.
x N
PS Hugo still has The Benevolent Dictators photo on his board and I have used the stencil many many times,Thank you again.