Jed is away.
4/5th's of the Fab Five are poorly.
I felt like sewing something quick and cheery to break the monotony of wiping feverish brows and dishing out soup&sympathy.
After chatting with a fellow O+S junkie,last week,she mentioned that she had some Class Picnic shorts to finish.
Ding dong,so did I!
So today I made them.
(and I thought you may like a peep).
I hope the top from last year still fits.....
Prepare the pattern pieces snipping all notches.
I cut a wee notch at the circle to mark the 'stitch to' line.
Right sides together pin and stitch to the notch that the circle indicated.
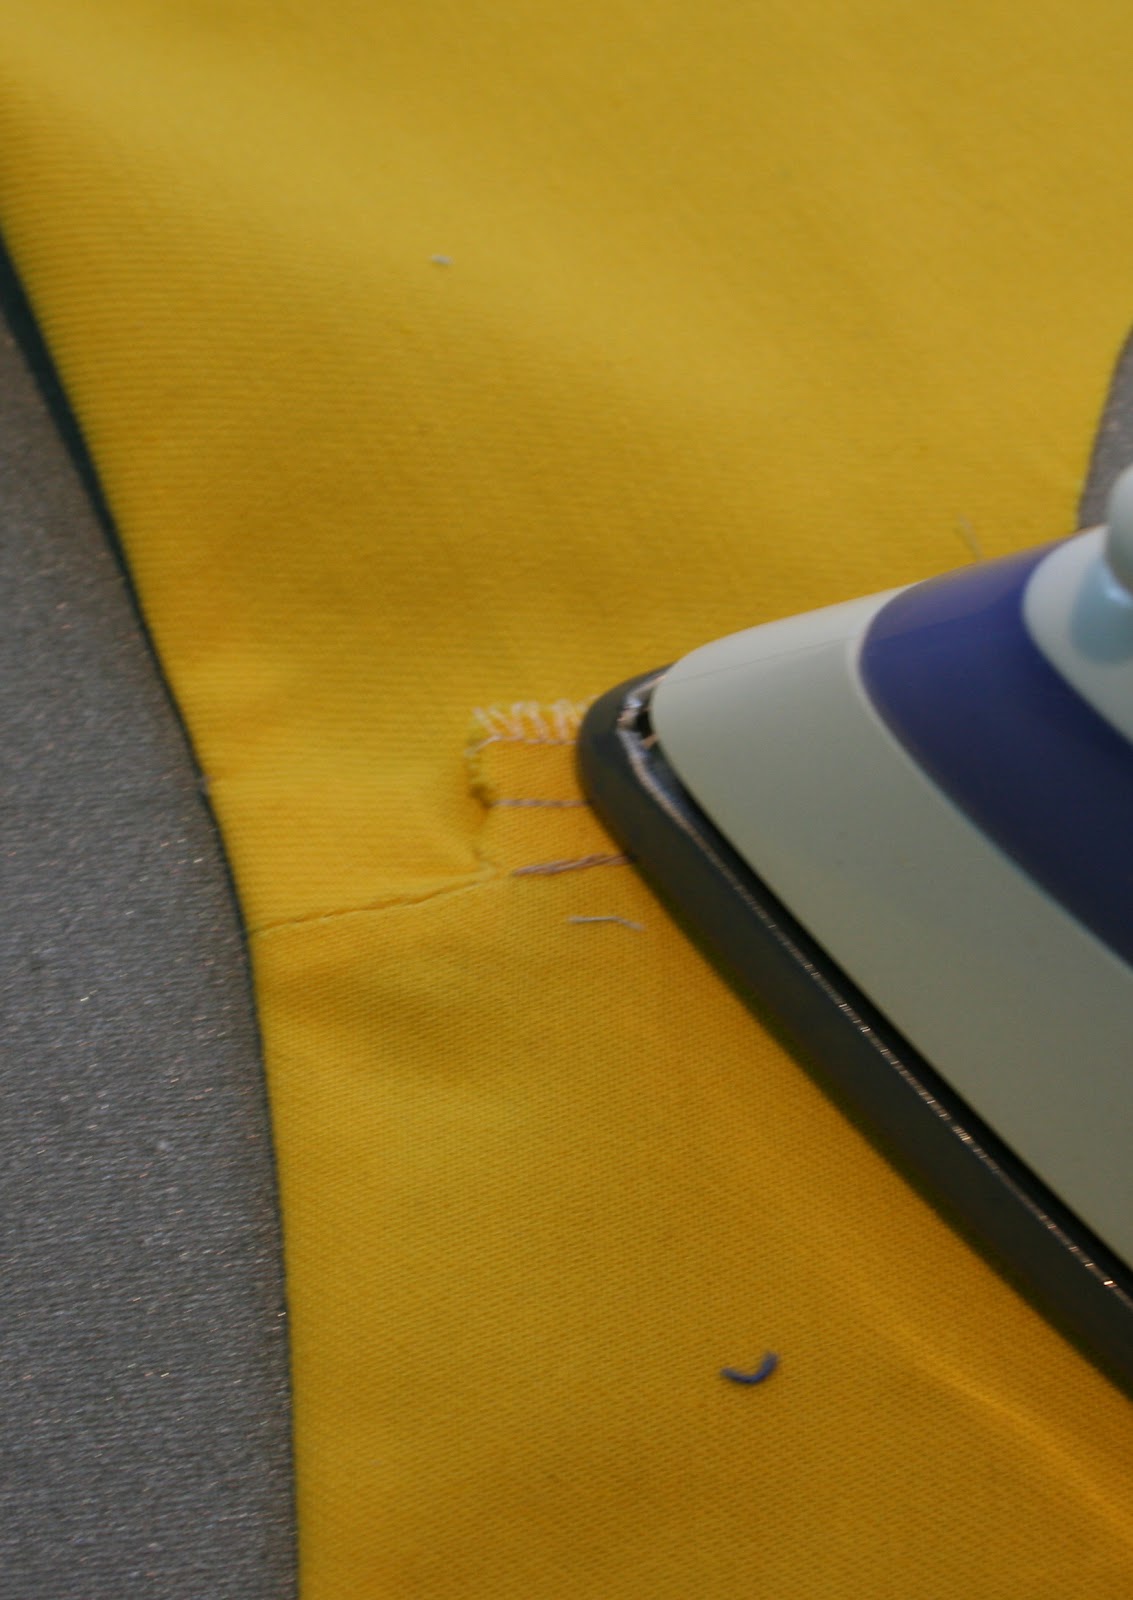
Snip,at an angle,to but not through,the stitch stopping point.
Following the pattern press the sewn seam open and press well.
I chose to press my seam in opposite directions.
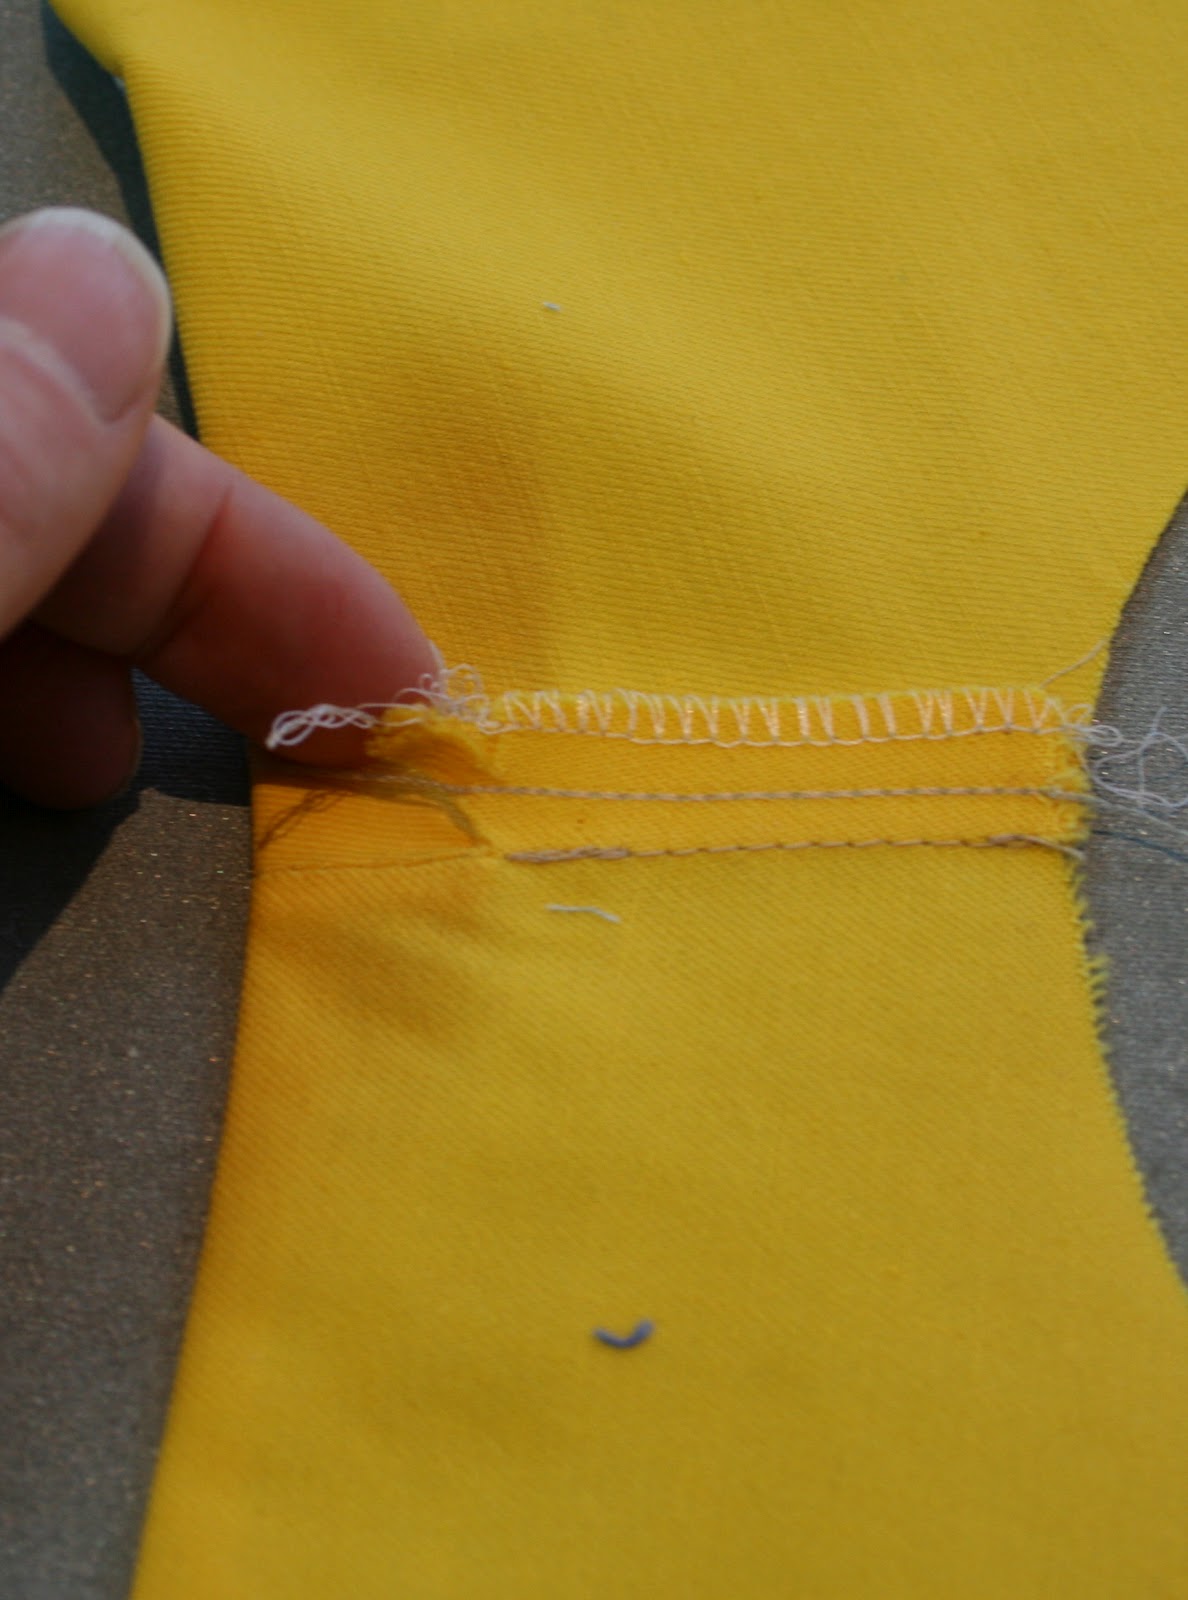
Fold the shorts
wrong sides together and sew the open seam.
Press well.
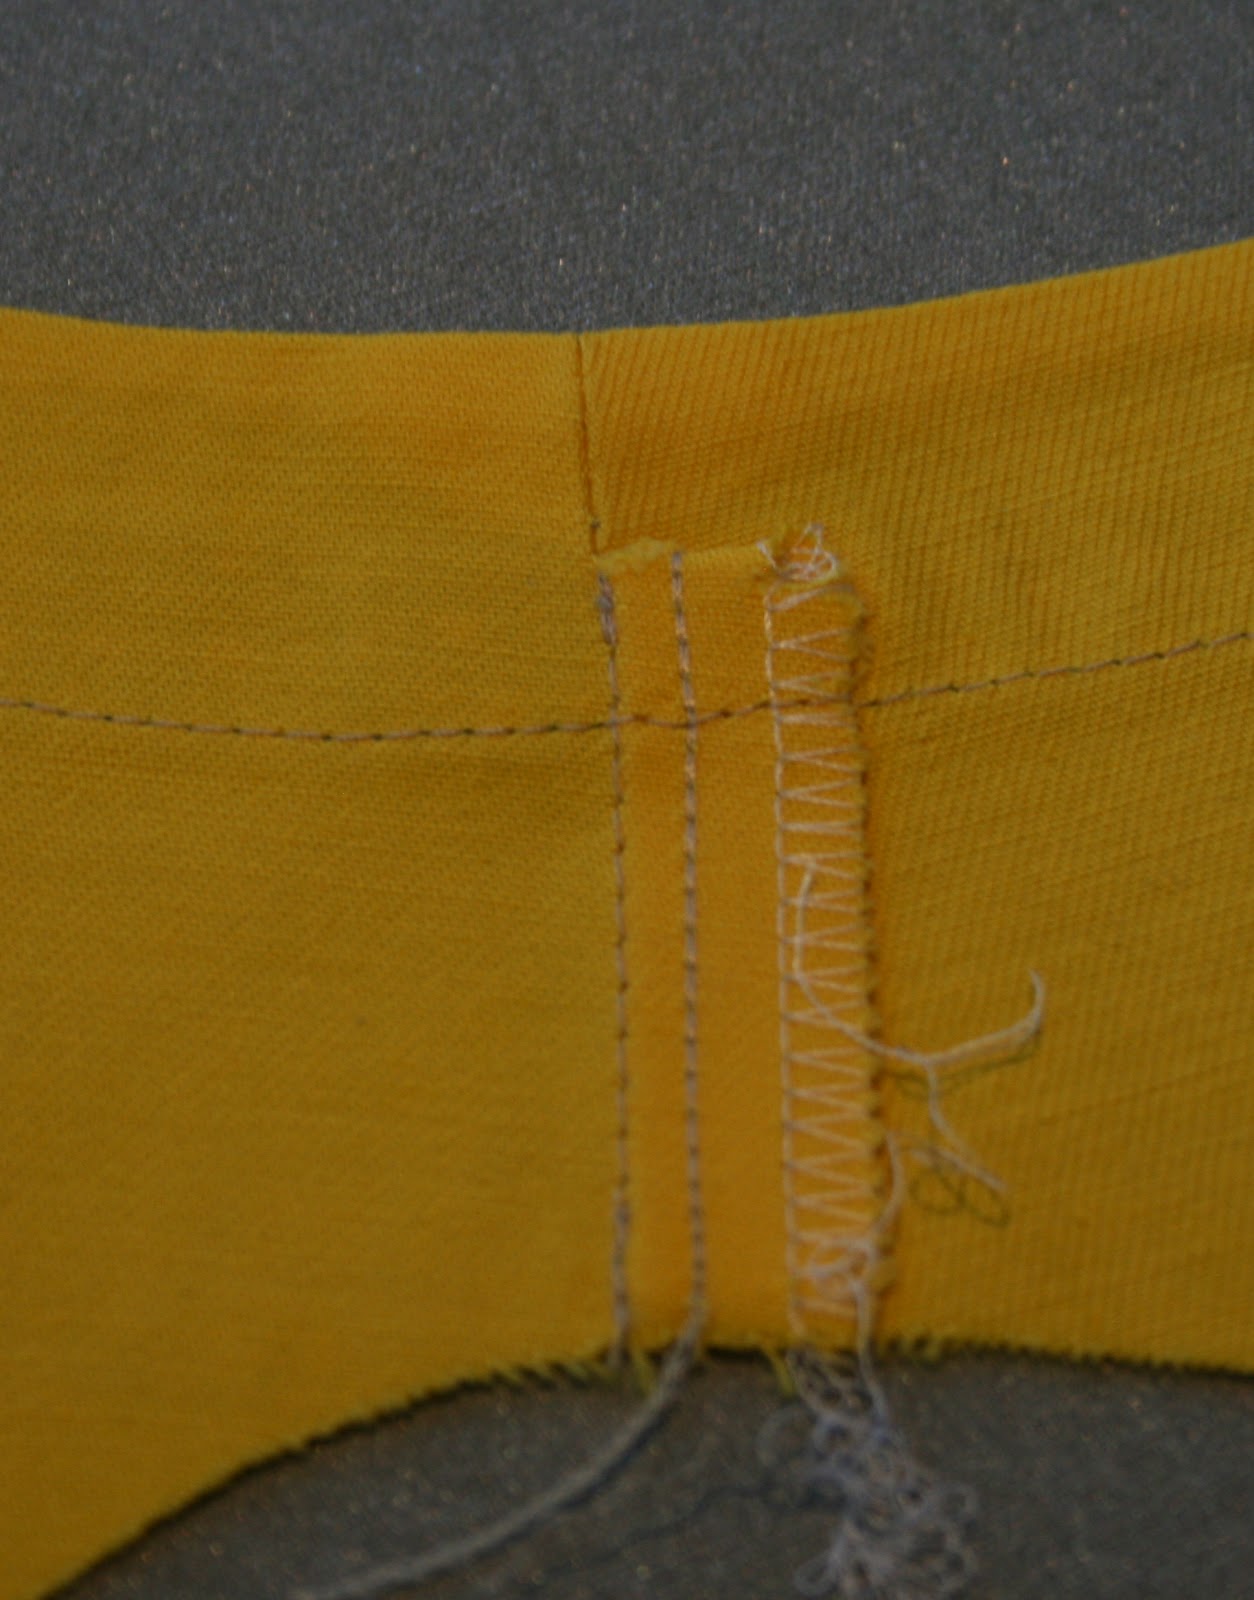
Press the seam on the
right side open.
This will be hidden under the facing.
I like to press my inside seams in opposite directions to stagger bulk.
Neaten the seams and press again.
Pop these pieces to one side.
Transfer the topstitching line to the facing piece.
I found this a pretty quick method.
Sew the facing pieces together matching notches.
Press the seam,the open it and press it flat.
Stitch a basting stitch around the inside of the curve and clip to(but not through)the sewn line.
Press carefully along the basting line.
Flip and press again from the right side.
Place the RIGHT side of the facing to the WRONG side of the shorts.
Pin,sew and trim.
I quite like to reverse stitch over seams that will be affected by trimming.
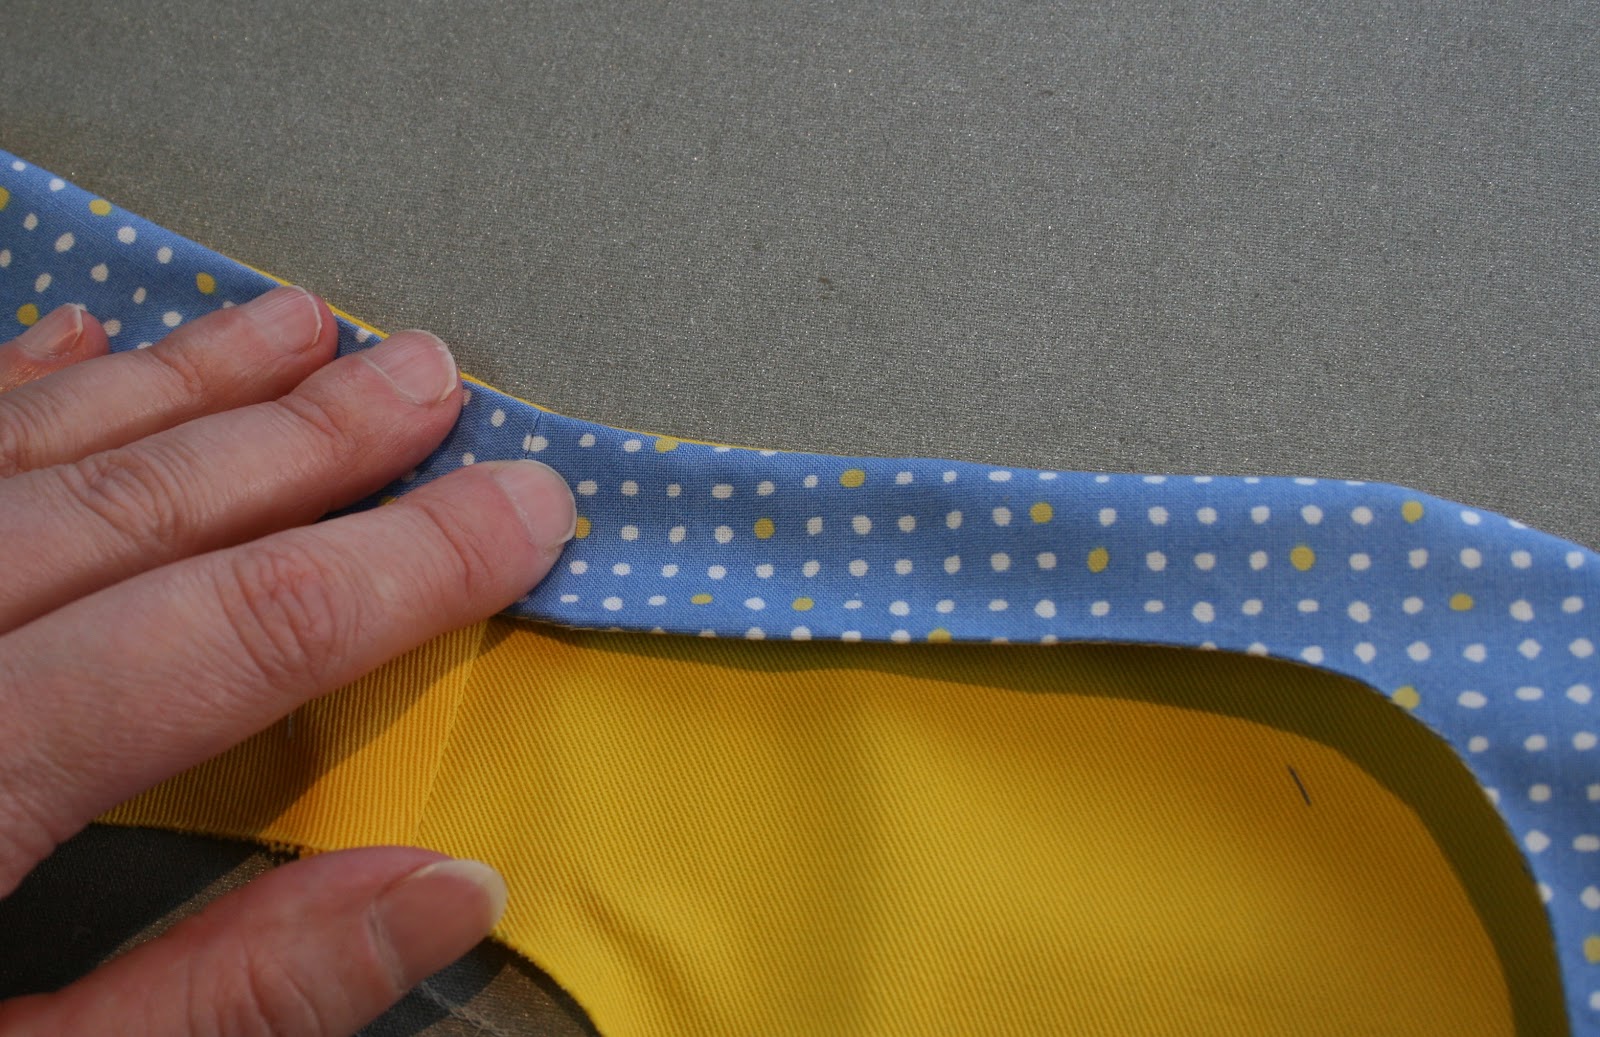
Turn the facing to the right side and initially press the seam towards the facing.
Roll the seam under your fingers for a smooth seam.
Pin the facing in increments.
I found this a little unsightly.
So I tucked it under the seam and pressed it in place.
Catch the folded seam from the outside when you are pinning the facing.
Pin and topstitch in place.
Tidy Heidi.
Very Tidy Heidi.
I decided to top stitch the edge.
Here I take a little detour from the excellent pattern instructions
Pin the crotch seam staggering the inner leg seam.
Pin the seam. I quite like to pencil in my stitching line.
I like to clip the curves before stitching and I find that it is easier to sew as the seam will straighten out a little as you sew. The notches will be inclosed in the overlocking stitch.
Sew and neaten the seam.
Mark the mock fly fold line.
Baste this line in place.
My seam allowance was a wee bit out so I needed to add this to my waistband.
Press the fly to the desired side and press the crotch seam in the same direction.
Press again form the outside.
Pin the flap in place,mark the stitching line and sew in position.
Starting from the bottom of the faux fly,topstitch the crotch seam.
I quite like to stitch a bar tack at the base of the fly.
Press the seam in place.
Super Sturdy for Bouncing Bottoms!
How cute is this?
Fold the backs over the front panels and pin in place.
Stitch as directed by the pattern markings.
It may be easier to stitch on the inside of the shorts.
Press well.
Prepare the front waistband section.
I personally prefer to interface the outer waistband rather then the waistband facing.
Stitch the front waist band sections together matching notches.
Another wee detour.
I like to press the seam open.
Pin the front waistband to the back waistband and sew in place.
Press the seam well.
And then press it open.
Another detour....
At this point I like to fold the seam allowance of my outer waistband in place and press.
Pin the RIGHT side of the INNER waistband to the WRONG side of the shorts.
Sew,press,trim the seams and fold the waistband over to the right side.
Pin the waistband in place taking care to cover the original stitch line and sew in place.
I apologise for the lack of photos for this step,I think I may have been rudely interrupted by a vomiting child.
Press the waistband well.
Topstitch around the top of the waistband.
On the inside of the shorts waistband unpick a wee section of the side seam inside the casing.
Thread the elastic through and poke the end into the front of the waistband and stitch in place.
Continue threading the elastic through the casing.
Again,poke the elastic to the front and secure in place.
Stitch in place.
Hand sew this opening closed if you fancy!
And there you have them!
I decided to add some river stone buttons for some fun.
Some button hole tips here
I went with some jazzy green thread.
Bottoms up!
Paired with the blouse in the very pretty City Weekend.
Itty bitty blue ones that would also do a boy
I can dream can't I?
So cute!
Again,co-ordinating with the very sweet City Weekend.
Watch think Baby Baby?
Catch you over there for a pickernick!
x N


Ah-dorable!! I like the buttons, fun touch! Is it weird it made me happy to see your bucket of scraps? I pile mine next to my serger and always tell Ben how excited I get as I see the pile grow. He thinks I am odd...
ReplyDeleteThank you Brittney.
DeleteNoooo not weird at all,I love watching the little pile grow. I also love the way multiple pieces become one.is that weird?
xx N
Love them both - and thank you - think I am sufficiently motivated to finally finish my pair...
ReplyDeleteThank ou for reminding me I had them to do!
DeleteMy muse!
xx N
Clever you with the buttons... You always manage to sneak in the best details! :-) Love the photo shoot.
ReplyDeleteIts all in the details,sneaky and other wise....
ReplyDeleteThank you!
xx N
These are great! I love the buttons on them. I never thought of the shorts for a baby boy but now I am having a few ideas runing around head. Beleive it or not I don't own this pattern yet but I do see a need for it now. ;)
ReplyDeleteI think the top would be lovely for a baby boy too,perhaps if you pleat the front rather then gather?
ReplyDeleteThank you Sharon!
xx N
Ca-yute! Those shorts are so sweet!
ReplyDeleteThey are Jillian,Thank you!
DeleteI have made the top so many times but just had not got to the shorts,I worried they would be too short.
Now all I want is some warm weather so I can see some little knees!
xx N
Just been catching up!!! These shorts are gorgeous, and another wonderful tutorial :-)
ReplyDeleteHope your 4 get over their sickness soon.
x Angela
Thank you Angela.
ReplyDeleteOnly one poorly one now and that seems to be a tickly cough. I am cooking lots of creamy pasta dishes to try and bulk them up. Liddy is the size of a twig and all she wants to eat is apples!
I am pleased with the shorts pattern.
xx N
These shorts are my next project. I shall be pouring over this post as I sew! Many thanks!
ReplyDeleteThank you!
ReplyDeleteThey are very cute.
I loved your 'tadpole' dress,I found some of that sane print in a pink/red colour way.
xx N
Oh, I am so behind in my blog reading! These shorts are smashing! I love yellow and blue together - so summery! Is spring coming to your part of the world now?
ReplyDeleteThank you,I must take some photos but it is so cold at the moment!
ReplyDeletexx N
Nicole I just found your blog/flickr photos through Lisette's site. You have such style and talent in sewing for, and dressing for yourself and your beautiful family. I'll be back to read often.
ReplyDeleteTerri K
Asheville, North Carolina
Wow,thank you Terri!
ReplyDeleteThat is super kind of you,I am a complete newby to blogging but I do enjoy it.
Thank you again and you are very welcome!
x N
I'm trying to get a pattern of these shorts, does anyone know where I can get it from, Cheers.
ReplyDeleteHere you go https://oliverands.com/shop/digital-class-picnic-blouse-shorts-sewing-pattern.html
Delete