Elmer the Secret Agent- A Tutorial-Part 2
Back to work.
Matching notches, pin the front pieces to the back at the side seams.
Sew and neaten the seams. Press towards the back.
(I will then press my skirt seams towards the front thus staggering the seams.)
Take a completed sleeve and pin the underarm seam to the side seam of the bodice, right sides together.
Check and match the notches and then pin and ease the sleeve to the bodice.
(If the notches do not match you have the wrong sleeve, each sleeve has a front and a back determined by the notches)
Pin on the sleeve side and then sew this side.
Press the seam well.
Neaten the seam edge and press again.
Press the seam towards the sleeve.
Press the seam from the right side.
Take your time and press these seams well and then let the garment cool.
Rinse and repeat.
For the second sleeve.
Trim the neck seam and stay stitch it with a 3/8ths seam.
This will help prevents tucks when sewing the collar and facings in place.
Woo hoo, it is coming together.
Pin the skirt fronts to the skirt back matching the notches.
Press the seams flat.
Then press the seams towards the skirt front.
Press again from the right side of the fabric.
Neaten the top edge to prevent fraying when gathering and then stitch a turning guide for the hem.
How funky is this print? Its like Alice in Wonderland.
Before gathering the skirt, consider marking the stop/start point.
Set the stitch length to 4 or your largest stitch and sew two rows of gathering thread.
Don't forget to change it back!
I do Baby, all the time.
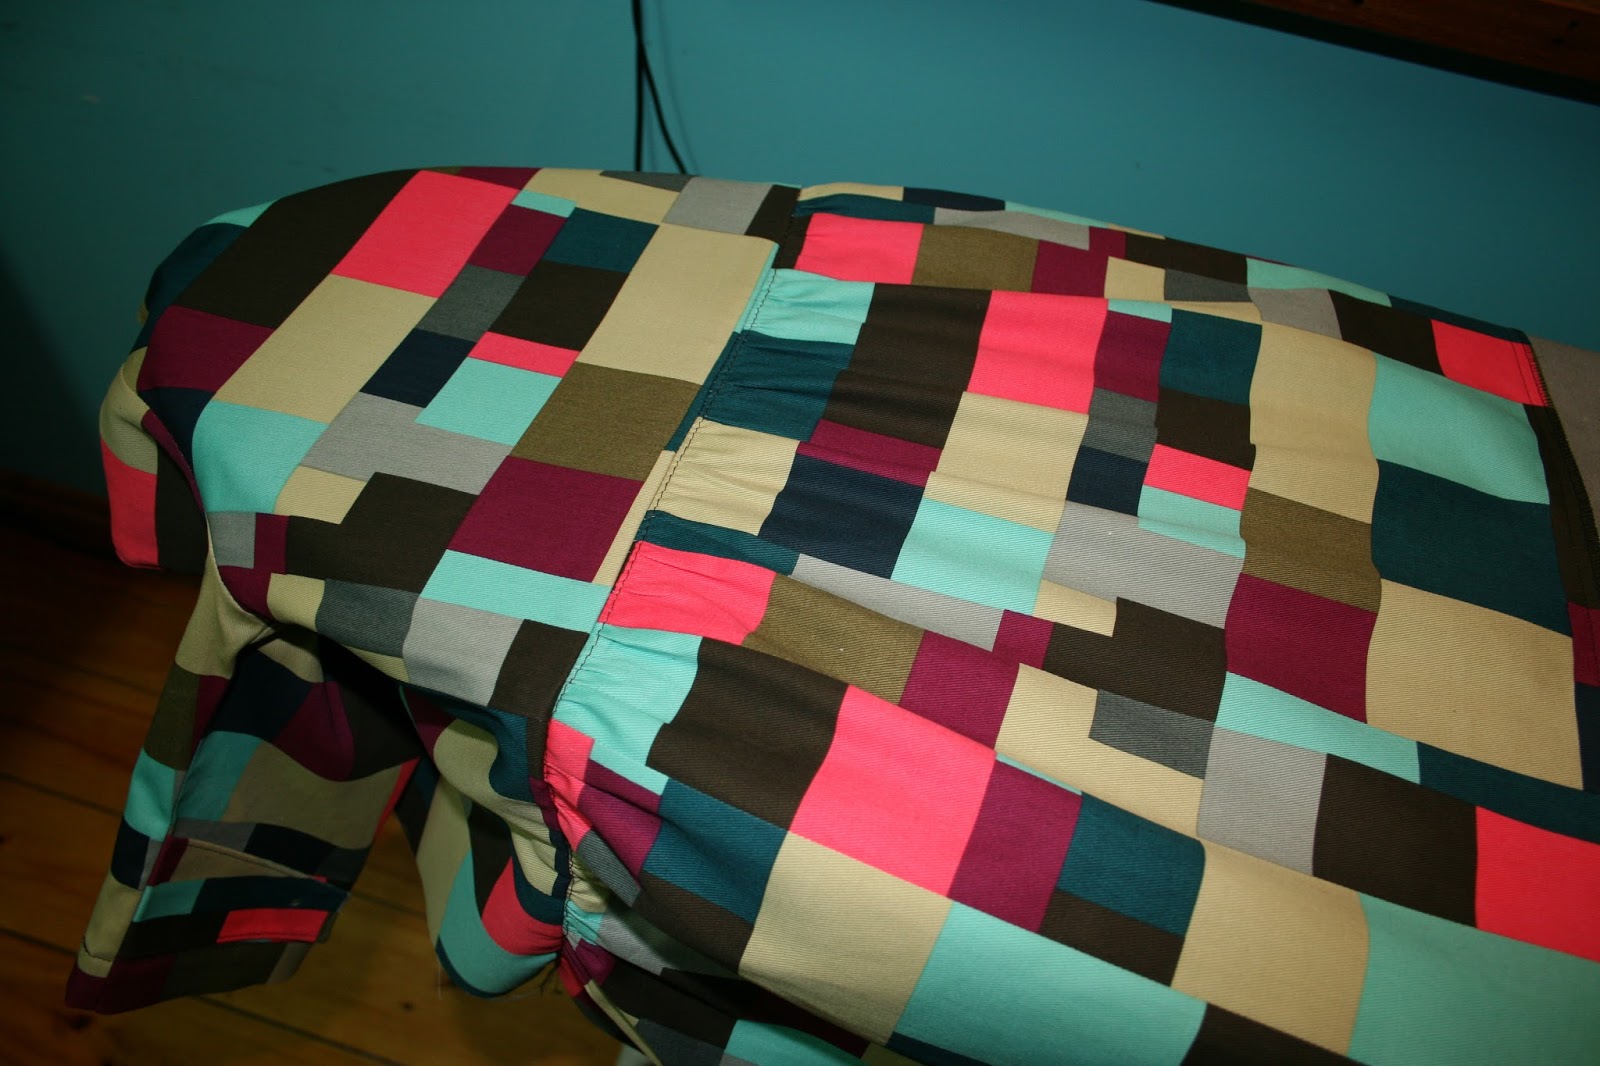
Matching notches and side seams, gather the skirt to fit the bodice.
Once you have gathered the skirt to fit the bodice knot the gathering threads to prevent it coming un-gathered.
Sew the skirt to the bodice and then press well.
Neaten the edges and press the seam towards the bodice.
Press well from the right side.
See how the seams 'butt' together nicely without extra bulk.
Topstitch the seam in place.
Carefully remove any visible gathering stitches with a pin.
This takes a little longer but will help prevent holes in the fabric.
Sew the front facings to the back at the shoulders seams.
Press the shoulders seams open and then neaten all the edges.
Set the facing to one side.
Notch the centre back of the coat.
Match it with the centre of the collar.
Match the collar notch to the sleeve seam.
And the edge of the collar to the notch on the jacket.
Pin in place.
Baste the collar in place with a 3/8th seam.
Gently pull the coat as you sew to avoid tucks and ease the collar in place.
A little fitting.
The collar in place.
Match the centre back seam of the facing to the coat, sandwiching the collar in between the two.
Pin the facing at the front edge and then at the shoulders and then ease in place pinning at regular increments.
Whilst pinning I discovered my facing was a wee bit long so I simply trimmed it to fit.
I had added extra to the facing, just in case.
Continue pinning the facing.
The bottom of the facing is sewn at this time so the hem will fold up to make a lovely neat finish.
But I will show you that next time.
xx N


I've constructed whole garments with the needle tension loose and the stitch length long after forgetting to reset after doing gathering stitches! :) I'm curious to see how long til they fall apart.
ReplyDeleteSo Many Times!
ReplyDeletexx N