

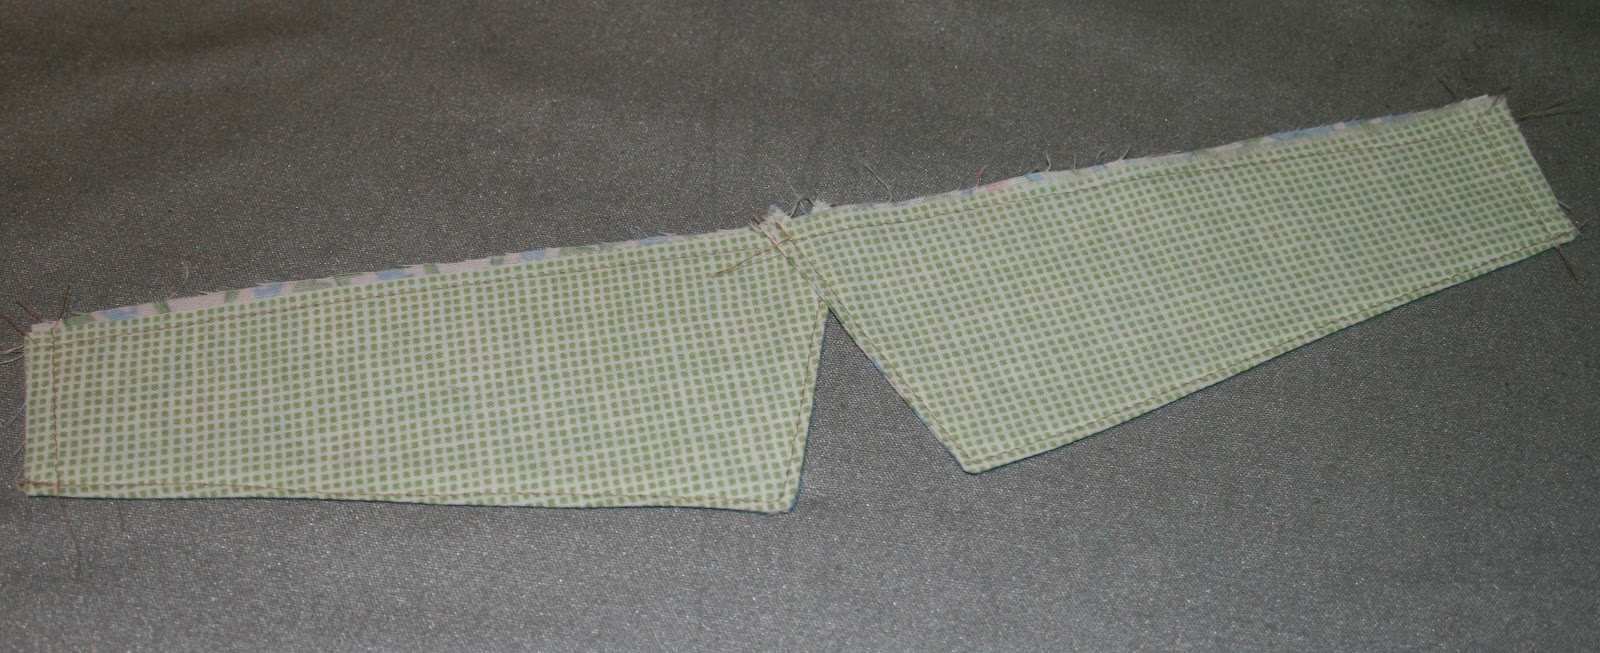
The Bodice Flaps.

I cannot remember the proper name and I have packed the pattern away-forgive me?


Trim the seams and the corners.


The measurements are in the instructions.


Sleeve Hems.


I found the smaller size needs a smaller sleeve hem.

See here if you need a reminder.
The Elastic Casing.

Following the instructions fold and press the ends of the casing.
Take great care not to stretch it!
Press the seam allowance along the top of the casing in place.

With raw edges together at the bottom,pin the folded edge of the casing to the bodice.

Take your time and try not to stretch it.

Topstitch the top edge in place.

Press well.

Baste along the raw edges to keep things in shape.

Do do do looking out my back door.....
The Skirt.

Sew the side seams of the skirt and neaten.
I finish mine together and press both towards the same skirt panel.

Consider stitching a fold line for the hem.

Press and fold the hem.

Fold again,press and pin in place.
Sew the hem.

Gather two rows of thread along the top of both skirt panels.

Pin the skirt bodice to the skirt,right sides together,and gather to fit.
I pin the bodice side seams to the back and the skirt side seams to the front to stagger the seam bulk.

Sew the two together.

Neaten the raw edge.


Press the seam up towards the bodice.
Give this a good steamy press and then let cool and set.

Topstitch the bottom of the casing in place.
The seam will be caught underneath.

Thread the pre-measured elastic through the casing and secure the ends.

Ta-dah!

Press the bow pattern piece.

Fold the bow piece in half and pin the edges leaving a gap between the notches.


Sew and trim the edges and corners.

Turn the bow strip through.


Finger press the seams and then press well.
Pin the opening shut and hand sew or edge stitch the bow strip.

I edge stitched.

Pin the tie in place over the casing opening.
Stitch in place.

Tie your beautiful bow.

I wanted a quick finish so I used a small piece of millenary elastic tied in a loop.

And hand sewed it in place.

I sewed the lovely pink MOP button(which was a gift from a special friend) with apple green embroidery floss.

And there we have it.
A beautiful dress for my beautiful girl.
Beautiful indeed!
ReplyDeleteLove the sheep ;-)
Thank you Justine,I have a lovely view from my sewing room window.
ReplyDeleteI have no idea why half my blog has bright blue writing!
Has that ever happened to you?
xx N
I love the sheep too! And I love your new labels - very elegant.
ReplyDeleteI thought of you when I heard the sheep bleating Catherine.
DeleteThank you!
xx N
Very sweet dress! I always thought you changed the font colors:)
ReplyDeleteThank you BrIttney.
ReplyDeleteI do change the colours to break the tute into sections but it decided to stay that way!
Never mind...
xx N
I could look at your stitching for hours, it's all so neat. Thats another wonderful tutorial, and a sweet dress. Great sheep pic!
ReplyDeleteThat is so kind of you Angela,thank you!
ReplyDeleteI love that I can open my window and hear sheep baaing.
xxx N
Another wonderful tutorial and such a pretty dress! And I am quite jealous of your lovely view. :-)
ReplyDeleteThank you Inder,I am very lucky to live out here,the farm is a great place for children?(with supervision)
Deletexx N
this might be a weird question but why types of machines do you work on? i'm assuming they are industrial ones by the looks of them! just curious because i've never seen ones like them before. great dress as always :)
ReplyDeleteGreat tutorial, Nicole! You always do a wonderful job showing how to get a flawless piece of clothing.:)
ReplyDeleteHi Sarah.
ReplyDeleteMy sewing machine is semi-industrial,it has lots of grunt(there is a motor underneath the table).
You press an 'on' button to start it and then use the foot pedal.
It still has all the features of a regular machine,button hole and assorted stitches,but with a lot more power.
My dealer recommended I get this machine as I was wearing out my domestic ones.
My overlocker is a similar type of machine. It works as a stretch knit machine but can also do a straight stitch with an overlocked edge.
Both machines would be well over 25 years old but are pretty well fool proof,
You are kind Cindy!
Thank you both!
x N