Lisette Traveller Shirt Part Two
On with the collar baby-baby!
Press the pieces well.
Cut a piece of interfacing for one of the collar pieces.
Fold the interfacing in half and mark the height of the collar stand.
Cut along the marked line and then trim a few mm off the edge.
Apply the interfacing to the collar with a wee gap between the collar and the stand.
Stay stitch along the bottom edge of the un-interfaced collar piece.
Press along the stay stitching and trim the seam back by half.
Matching the notches,pin the right side of the interfaced collar piece to the wrong side of the shirt body.
Sew the collar in place.
Check for tucks,press and then trim the seam.
Press the seam up towards the collar.
Press from the other side.
Pin the collars eight sides together.
It can help to draw in the stitching line.
For a few more details on 'how to' see here ,just scroll down.
I did sew a slightly narrower seam allowance at the top of the collar.
Trim the seams.
Turn the collar through,roll the edges under your fingers,finger press and then iron press.
Pin the collar in place and top stitch.
Stitch closely to the edge of the collar.
Fold the collar and feeling with your fingers,find the gap in the interfacing.
Press along the fold line.
I like to try on the shirt and check the collar sits nicely.
Stitch along the fold line.
It helps the collar sit nicely.
Nearly there!
Consider extra top stitching.....
It can make a garment look more professional.
Pre fold and press the seam hemming.
Gather the sleeve tops between the notches.
Pin and sew the side seams.
If you are a little curvier or muscular sew a narrower seam allowance here.
Press the side seams and re-fold the sleeve hems in place.
Pin and sew.
If you turn the blouse through and sew on the inside it can be easier.
Press the sleeve hem.
Set in the sleeve,right sides together,matching notches and drawing up the gathering threads to fit.
Check for tucks,press,trim and neaten the seams.
Press the shoulder seams towards the body and remove the gathering stitches.
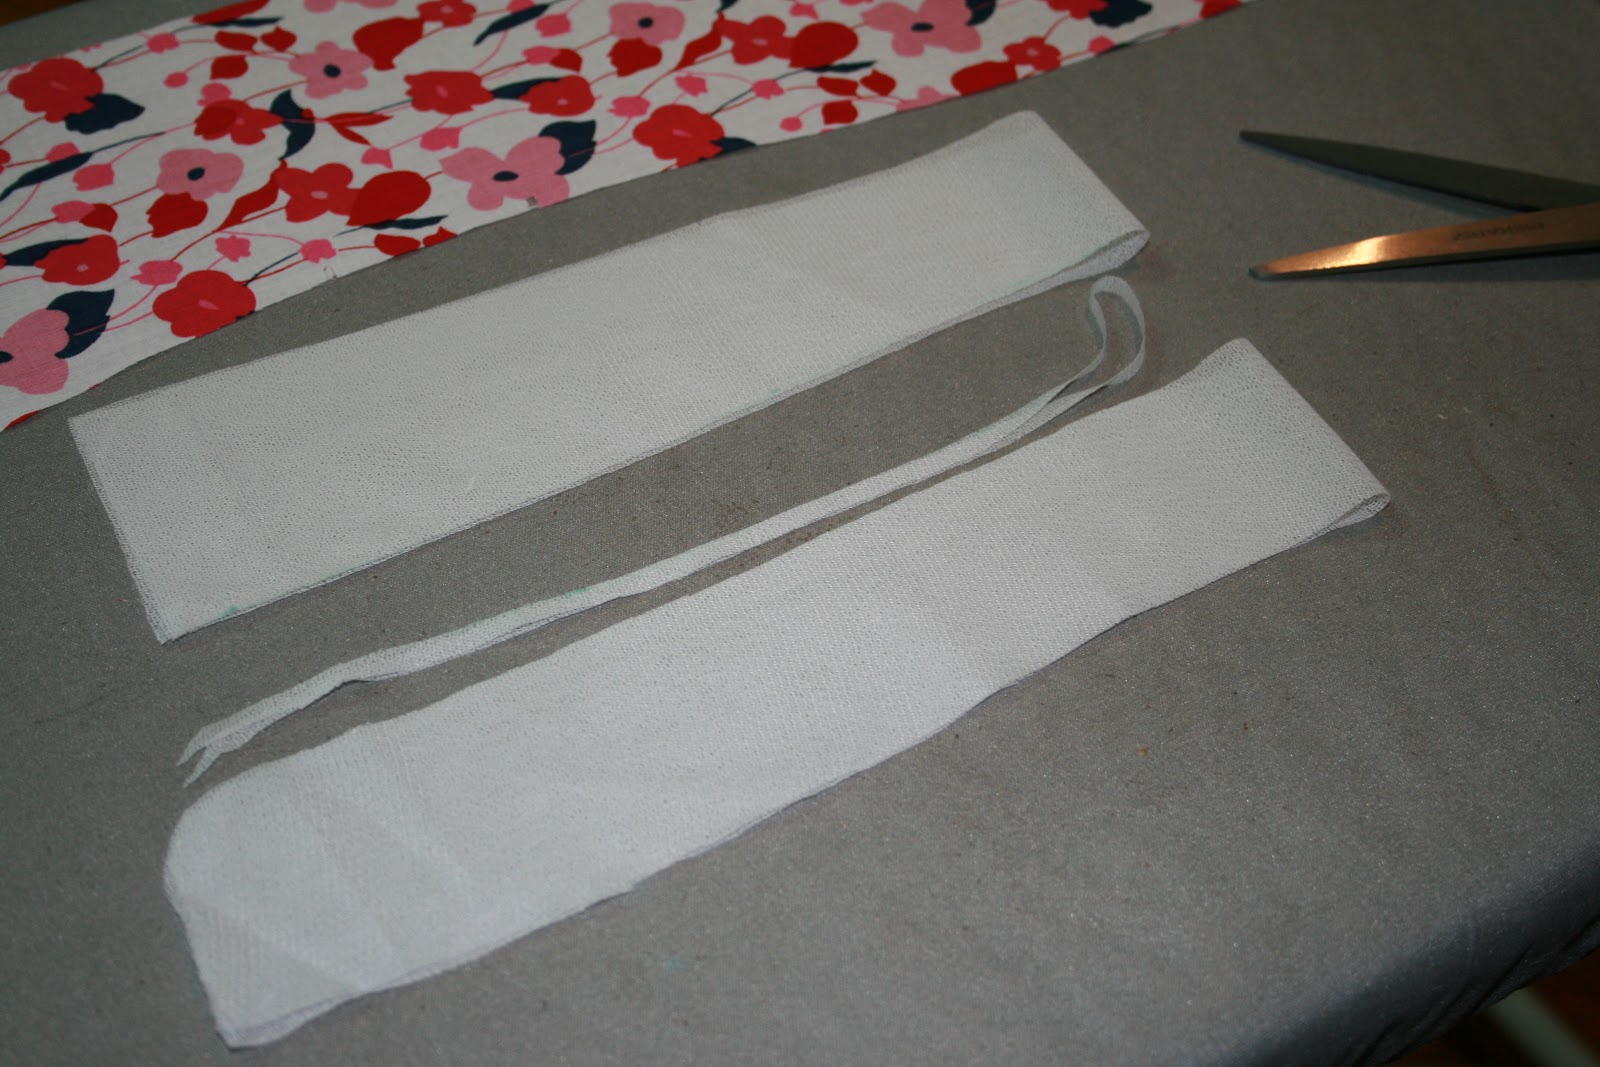
I used an off cut to make some belt loops.
I made the loops quite large so that I could be flexible with wearing the tie.
The loop blends in nicely so I needn't wear the belt at all!
Seconds? Yes please.
Sew the centre back of the tie piece.
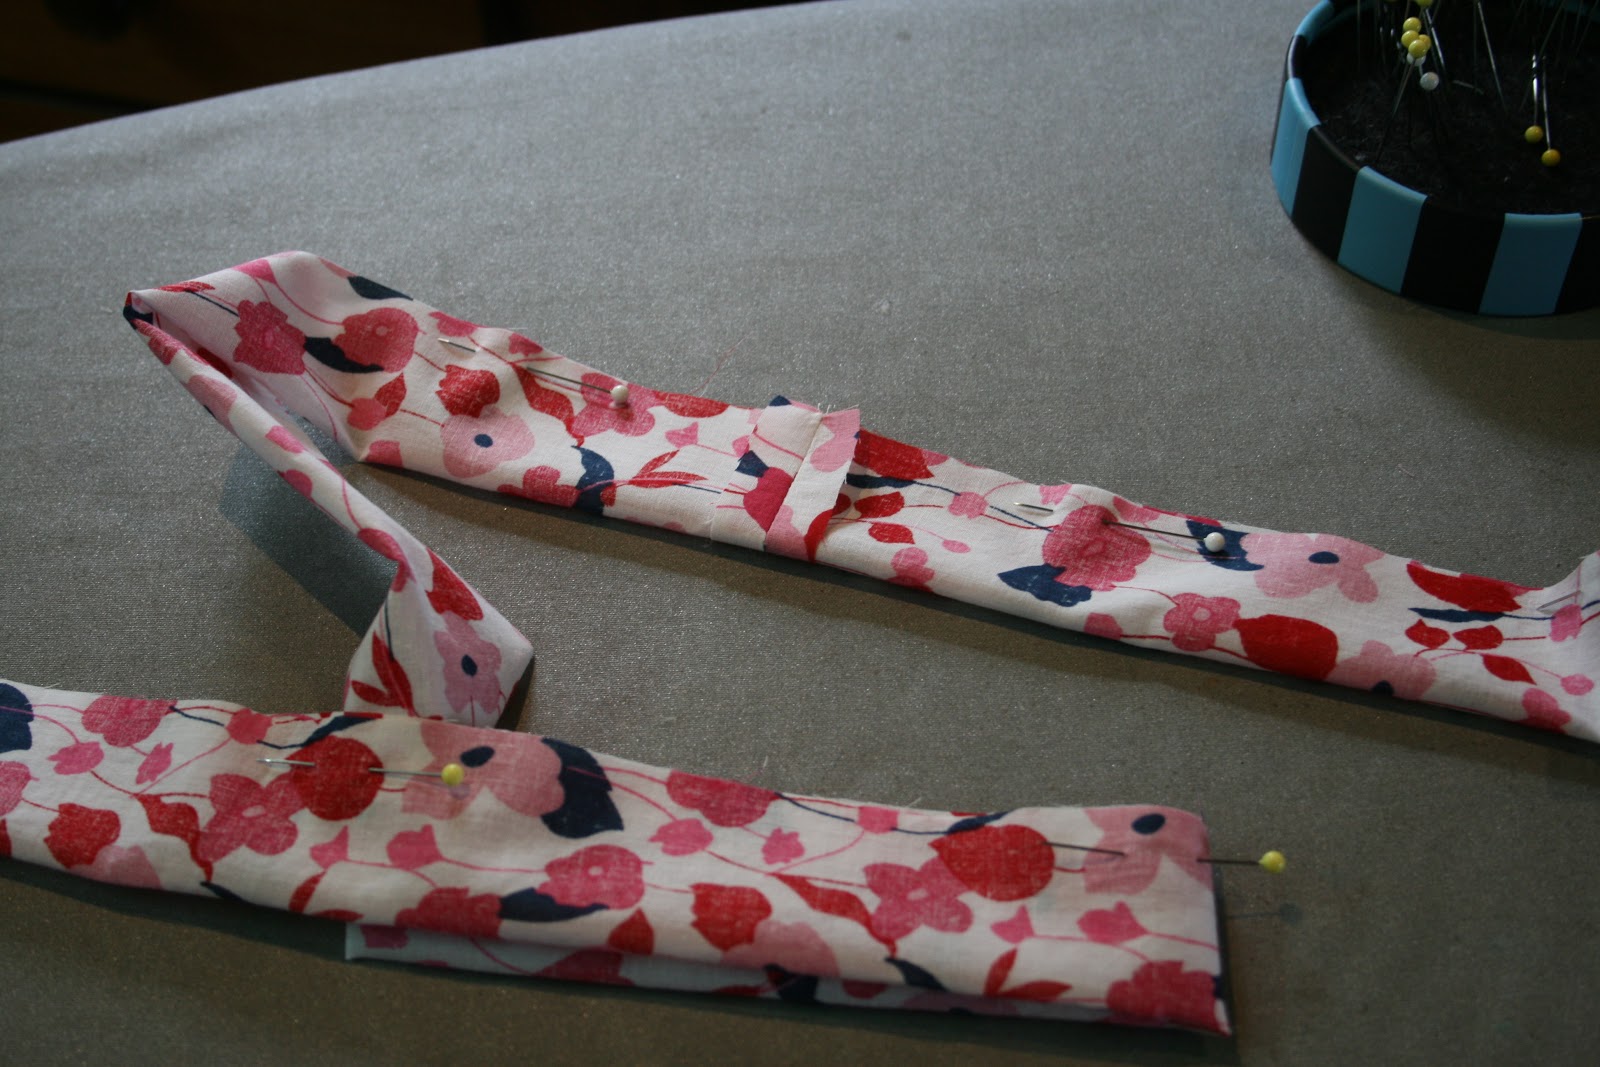
Press the seam open.
Pin the tie in half,right sides together.
Leave an opening in the middle for turning.
Sew and turn the tie through.
Finger press the edge of the tie,then press with an iron and edge stitch,catching the opening as you do.
I find the button hole guides often don't suit me so I try my garment and mark the bust button hole.
Then I just adjust the other button holes accordingly.
Mark the position of the button holes.
For some tips see here .
And there we have it
Cool and chic and absolutely perfect for this weeks swimming carnival.
xx N
PS Thank you Peta!


I love the fabric. Thanks for the tutorials, I think I need to sew for myself more often.
ReplyDeleteI was sent the fabric from a dear friend,I am very spoilt Marlena.
DeleteIts my pleasure if my tutes are any help at all and I think you should sew for yourself too!
xx N
This is gorgeous Nicole! You should be proud of yourself. I hope to see it modeled on you!
ReplyDeleteThank you Sarah,you are the Lisette poster child!
DeleteI wish I looked half as nice as you do in yours.
xx N
This is so pretty!
ReplyDeleteThank you Sandi.
Deletexx N
What a lovely finished garment! And such a cheery fabric, too! Thanks for the tutorial--I'll be referencing it when I get to this pattern!
ReplyDeleteThank you Amanda,it s a lovely pattern and a super quick sew for a woman's shirt.
Deletexx N
Thank you for your tutorials! Seriously love your tutorials.. As a self taught sewer, I am learning so much from you:) This shirt is wonderful!!
ReplyDeleteReally? Wow!
ReplyDeleteI am happy to post a few women's tutes,I just didn't think there would be a call for it.
Thank you so much!
xx N
Another fantastic tutorial. Now it is time for a modeled shot;)
ReplyDeleteThank you Brittany.
ReplyDeleteMarie Antoinette has better boobs,but!
xx N
My absolute pleasure! THANK YOU for your tutorials, you are a complete legend xxxx
ReplyDeleteYou are gorgeous!
Deletexx N
The dress is gorgeous, Nicole! I love the fabric that you used for the dress.
ReplyDeleteCindy,its funny you should say dress,I was showing it to Jed and he said 'That's a nice dress'
ReplyDeleteI wonder if I would be brave enough.....
Thank you
xx N
I want to see it on your lovely self, Nicole. :-)
ReplyDeleteThank you Inder,once the black bags lighten...I promise
ReplyDeletexx N
That's a wonderful idea to mark the button on the bust first, and then figure the rest of them out. I'm storing that one away in the old bean. It's a great dress. I hope it was light and airy to wear during your heat.
ReplyDeleteThanks Johanna,it works well on my short bodied torso.
ReplyDeletexx N