Do you remember me hoping this would be fun to sew?
Well it is!
Clever,clever,Charlotte!

Pretty,isn't it?

Transfer your pattern markings

Interface as per instructions,one yoke piece.

And the front placket.

Following instructions,pin three sections of flounce together(for the dress version)

You will end up with four lots of three.

Sew and press the seams open.

Following directions,pin two flounces together.
I like to match seams first and then gradually pin.

I sewed the outside edges first.

While stitching,lift your foot and turn by hand to achieve a nice curve.

Trim your seams. I like to use pinking shears.

Once I have pressed and made sure things are even,I stitch the end of the flounce and trim the seam.

Two flounce's,ready to be turned.

Turn and gently roll under your fingers to get a smooth edge.

The turned and pressed flounce.

Following the instructions,stitch a basting line on the inside of the flounce.

The pattern suggests to clip this seam,I chose to trim with pinking shears which worked well with this sheer fabric,however if I was using a thicker cloth I would follow the patterns directions.

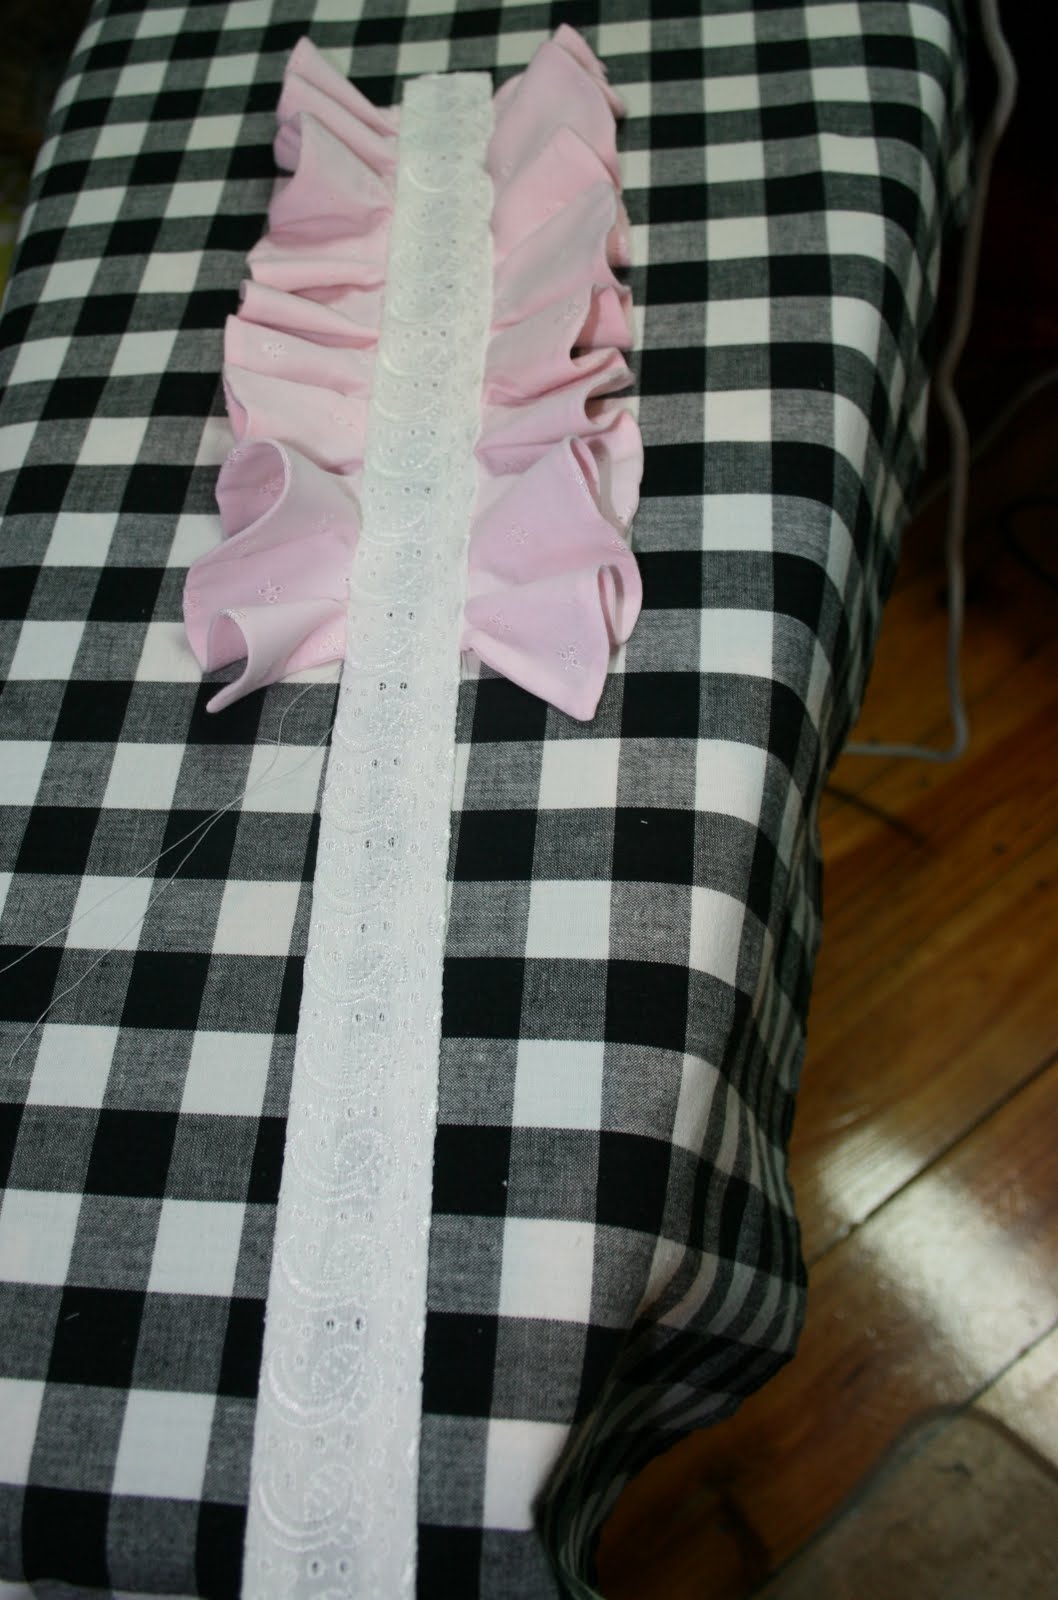
Attach the flounce to the front placket. I stitched a basting line to match my stitching to.
As I trimmed my flounce with pinking shears I adjusted to account for this.

The top view of the placket.

Close up of the placket.

The underneath view.

Following the directions.Attach the second flounce.
The flounce pressed with side seams pressed under as directed.

Using your transferred markings pin the flounce in place on the dress front. Stitch in place,as directed,with an edge stitch.

The finished placket.
Gorgeous,isn't it?
I can't wait to show you more...
x N
How pretty!! I can't wait to see it finished!!
ReplyDeleteThis is divine!! I love that it's not just a gathered ruffle! Anxiously awaiting a modeled shot of this one!
ReplyDeleteWhat a beautiful finish to the flounces, your pictures make the process incredibly clear. Also waiting .... impatiently :-)
ReplyDeleteThank you Sharon.
ReplyDeleteThe ruffle is such fun to sew,Mel.
Thank you Angela,I am sewing as we speak!
Thank you,
x N
Uh oh - I feel a pattern purchase coming on.
ReplyDeleteReally Sandi!
ReplyDeleteHow flattering,were you not too keen on this one?
Thank you!
x N