I am not sure,but every time I sew this sweet little top my neck bands turn out differently!
Recently,there was this cry for help on the forum and I really could not for the life of me think how to put it into words!
So here we go...

So we are up to this point.

Press the seam allowance towards the sleeve.

Often these piece ends up very uneven.

Trim them so they are even. Don't fret too much about the seam allowance,as long as there is at least 1/4 inch to sew the binding to.

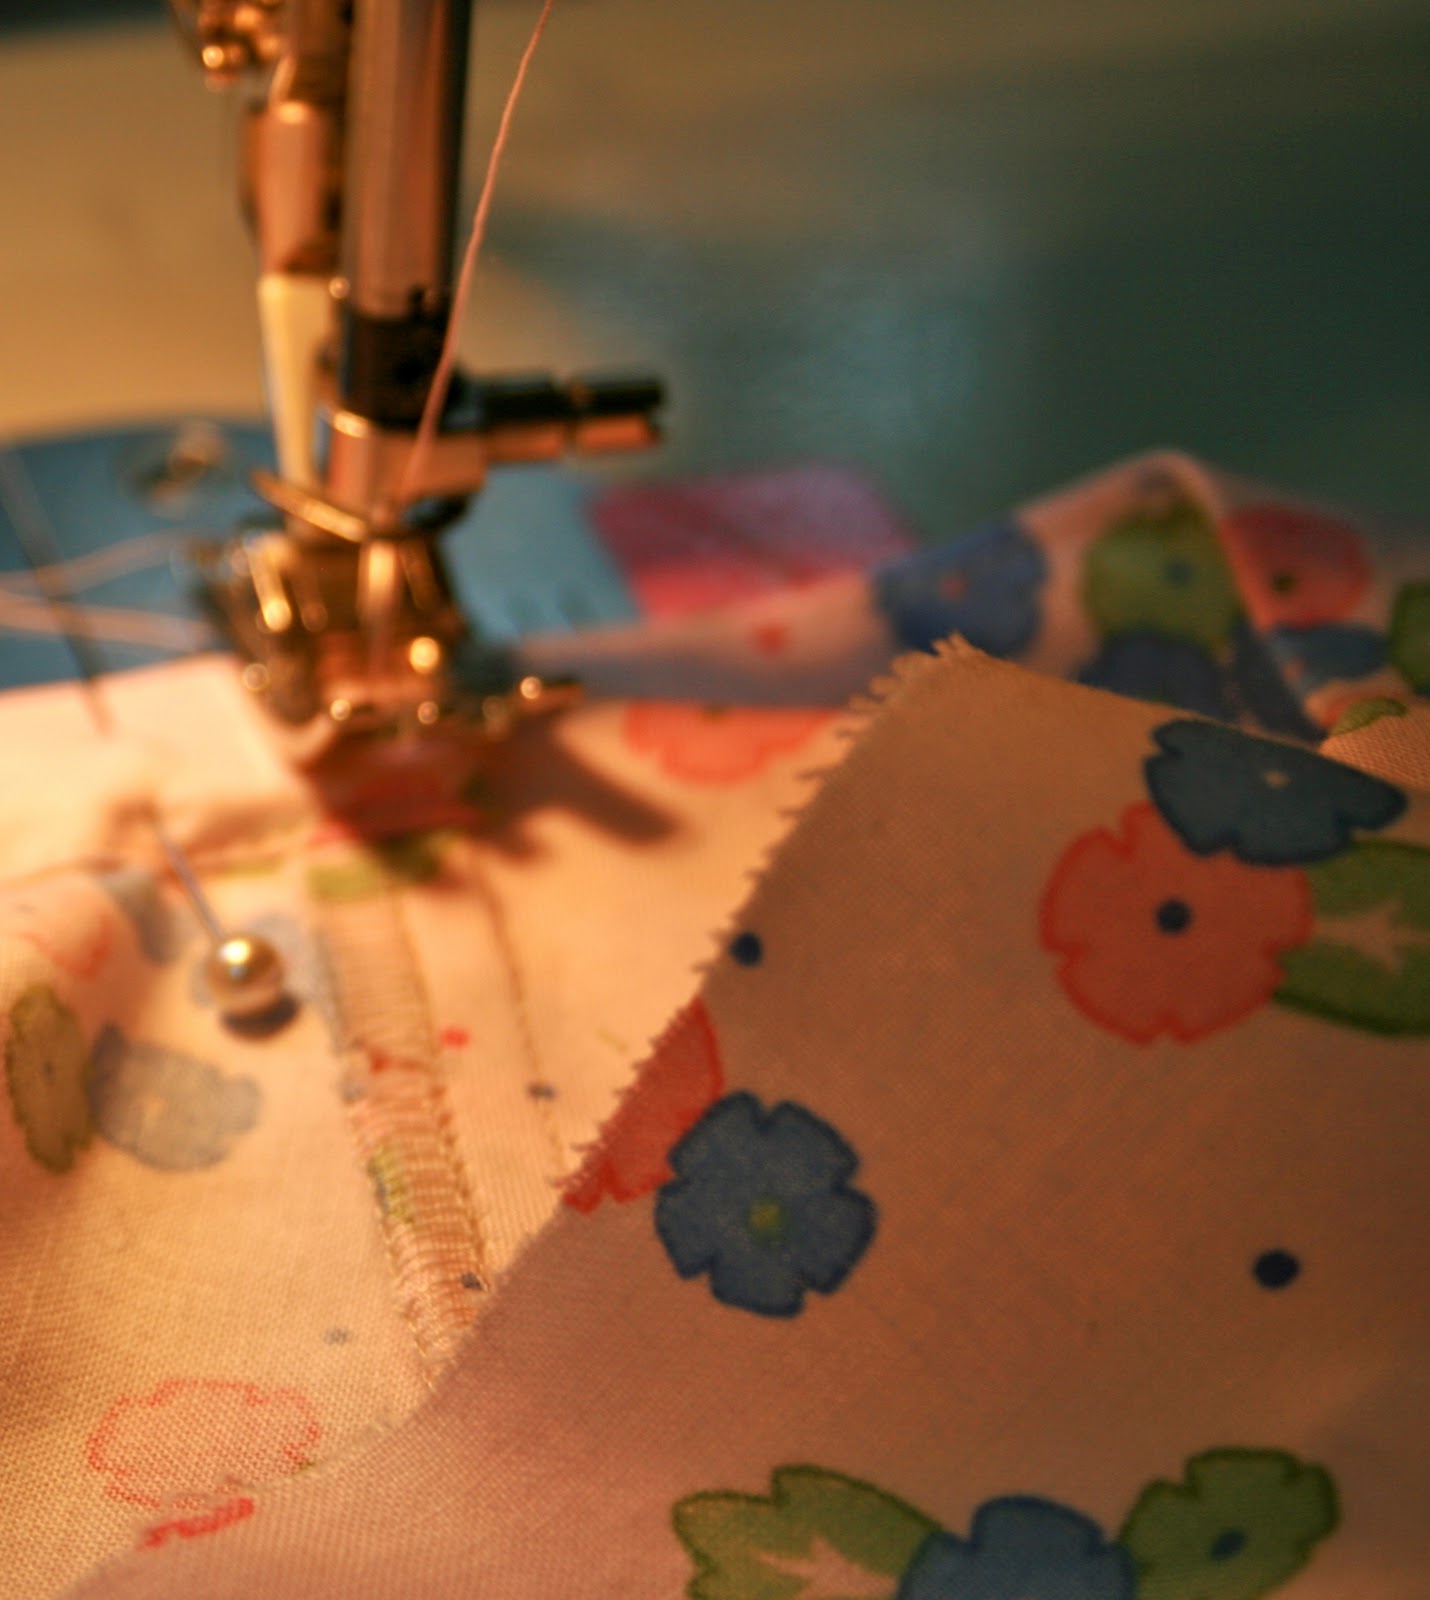
Place the right side of the neck band to the right side of one edge of the neck binding. Centralise it so there is an even piece of binding each side of the neck band.


Easing the curve of the neck band carefully pin it to the bias strip.

Sew in place using the finished front neck yoke as a stitching guide.

Make sure you finish the seam level with the front yoke.

Trim the seam(if necessary)to a 1/4 ''.

Press the seam toward the binding.


Stitch along the seam on the binding edge.

Trim the ends of the binding leaving at least 1/2 '' overlap.

Fold the ends of the binding in and press well.

Use your elastic as a folding guide. I mark mine with tailors chalk. Fold the binding and press along this line.

Trim the bias back to 1/4'' if necessary.(This time I didn't need to,often I do-spooky)!

Fold and press the binding to the wrong side so there is a clean finish along the neckline.
Pin the centre and then either end of the binding.

Press,ease and pin the binding in place.


Carefully stitch in place.

The stitched seam.
Press it well.

Thread the elastic through the casing. I like to round the end of the elastic to make it easier to pull.
Stitch one end of the casing catching the elastic.

Pull the elastic right through.
Don't panic if a little bit of the casing pops out.

Poke it back in gently with some small scissors.
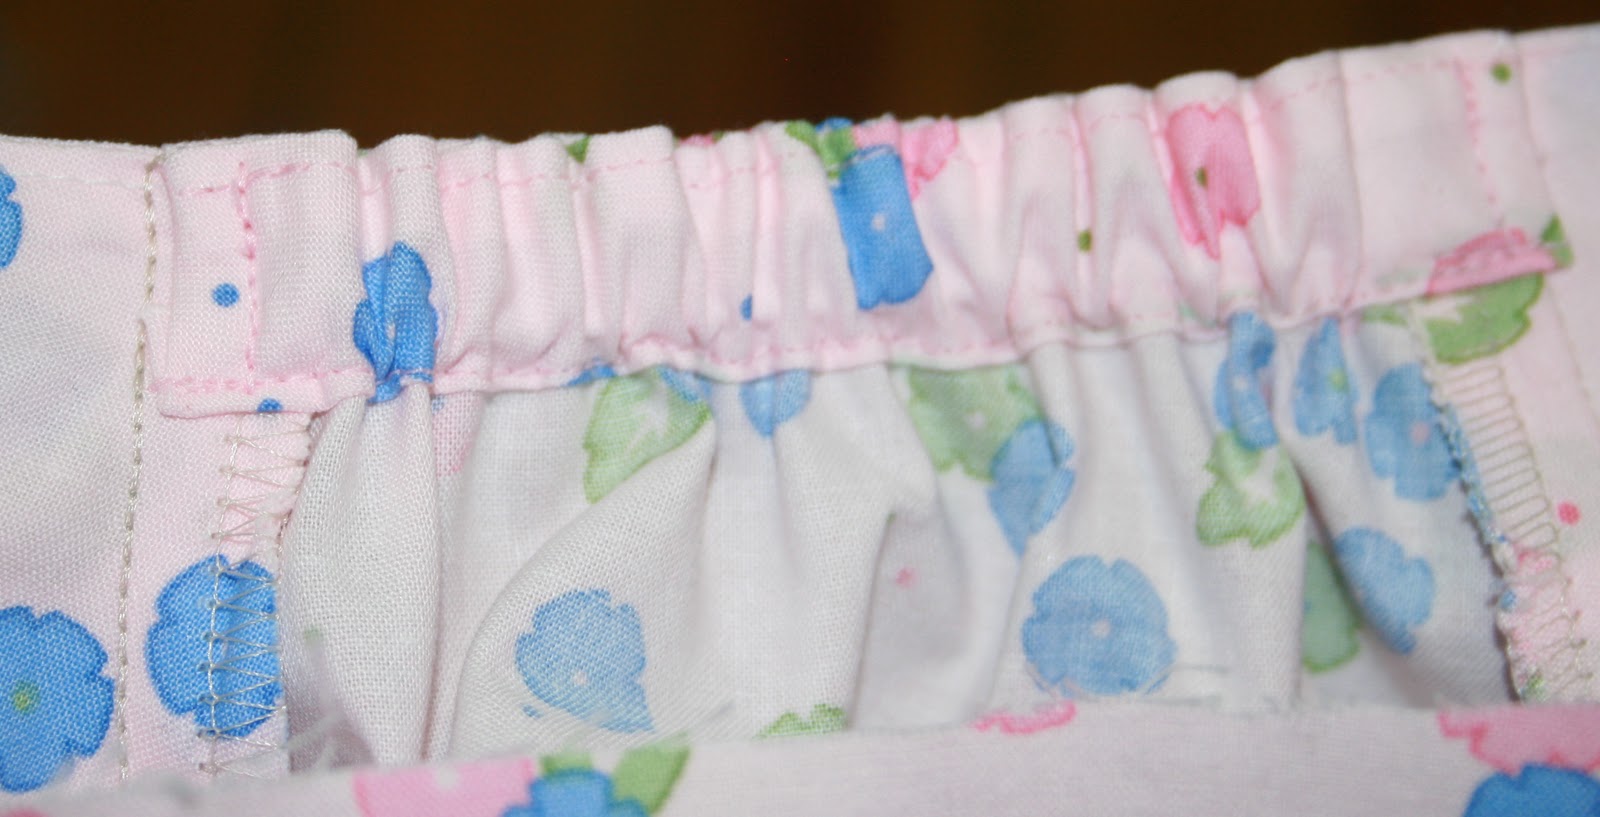
How it should look on the inside.

How it should look on the outside(but yours may look neater,he he)!

Rinse and Repeat!

The finished blouse
Pretty,isn't it?
x N
Very pretty indeed!
ReplyDeleteThank you Justine.
ReplyDeletex N
Nicely done! Thanks for taking the time to post this--it's very clear, I think.
ReplyDeleteThanks, Nicole! I just traced this off for when I get time to make it, so I'm sure your tutorial will be quite helpful. May I bother you with a question, please? When you made this top with long sleeves for Elsa and Zara, did you extend the sleeve in the middle of the pattern? I love the 3/4 sleeve, but we have such long, cold winters here that long sleeves are more useful. Thank you in advance for your expertise!! <3
ReplyDeleteMM
Thanks Liesl. I am pleased you approve.
ReplyDeleteI just lengthened from the bottom Margaret,folding in the hemming ''triangle's''(you will see what I mean on the sleeve pattern) and I straightened the lines so it finished a rectangle.
Very easy to do a casing.
The raspberry linen was the best result,the un-hemmed sleeve reached Elsa's knuckles.
With the other two I made them as long as I could as I had limited fabric.
It is such a nice pattern,much neater then the ''poofy'' peasant blouse.
Thank you!
x N
Thank you, Nicole! Lengthening from the bottom is certainly easier, glad to know it works! I hope to get to this soon, your tops are most inspiring!
ReplyDeleteMy absolute pleasure!
ReplyDeletexx N